

I used the Silk Glitter Silvermist Cardstock as my featured product and have a fun step by step for you creating this layout.
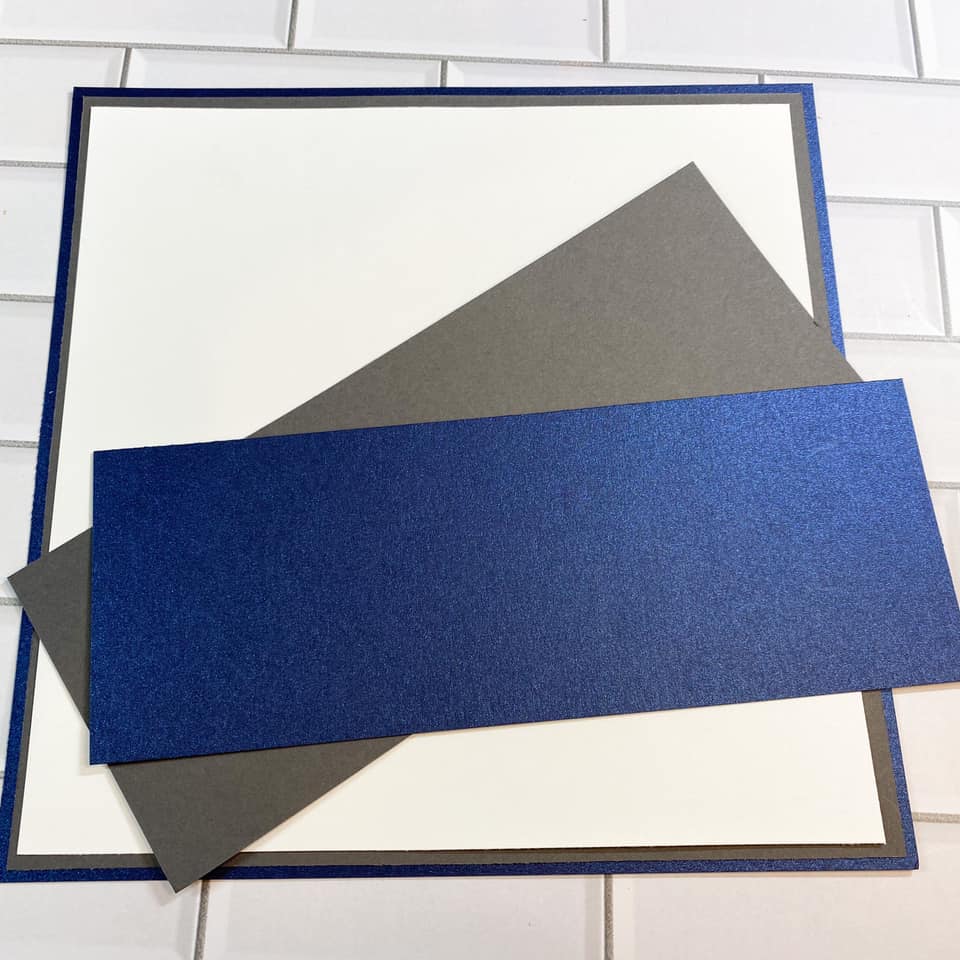
I started with 3 sheets of cardstock-
- 1 piece of Curious Metallic Cardstock in Ink (Navy)- 8" x 8"
- 1 piece of Basis Cardstock in Grey- 7 3/4" x 7 3/4"
- 1 piece of Basis Cardstock in White - 7 1/2" x 7 1/2"

I show the white in the middle in the photo above- however the white will be your top layer.

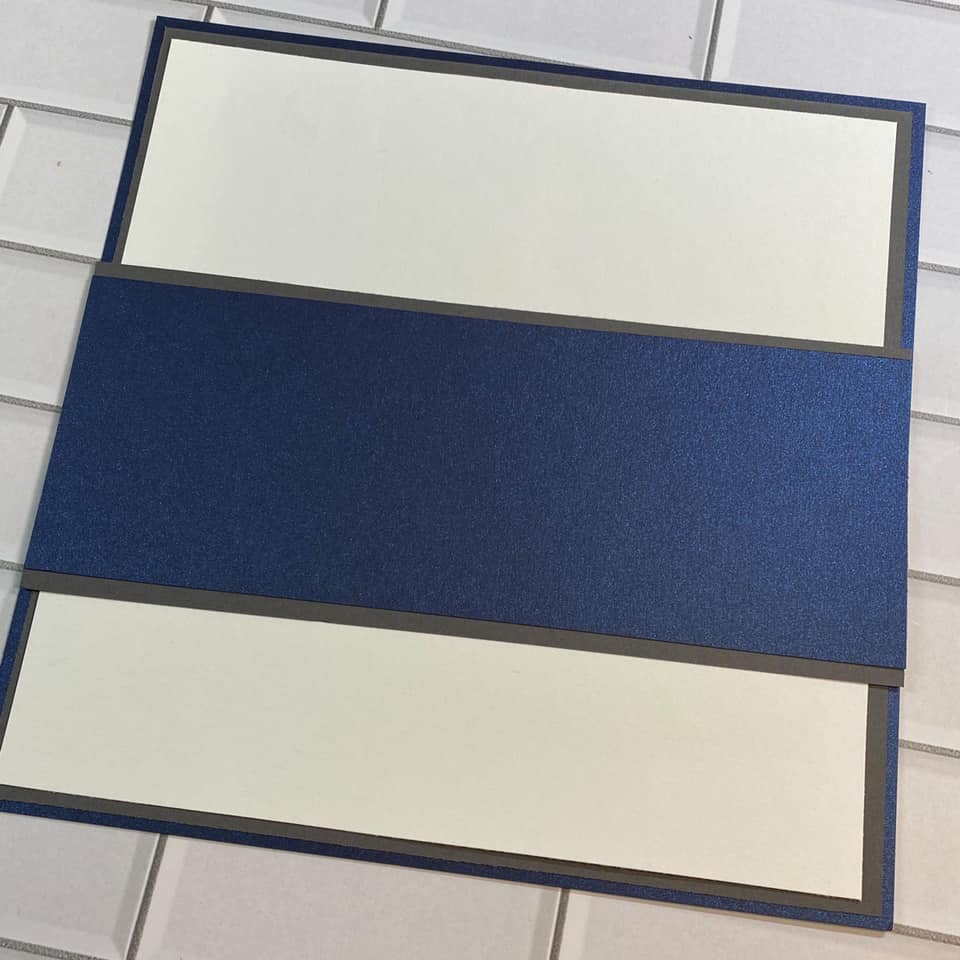
Adhere all 3 layers as shown above.
Next cut 2 strips of paper- Curious Metallic Ink- 8" x 3 1/4", Basis Grey- 8" x 3".
Next layer the Curious Metallic Ink cardstock and the Grey cardstock and add as shown below.
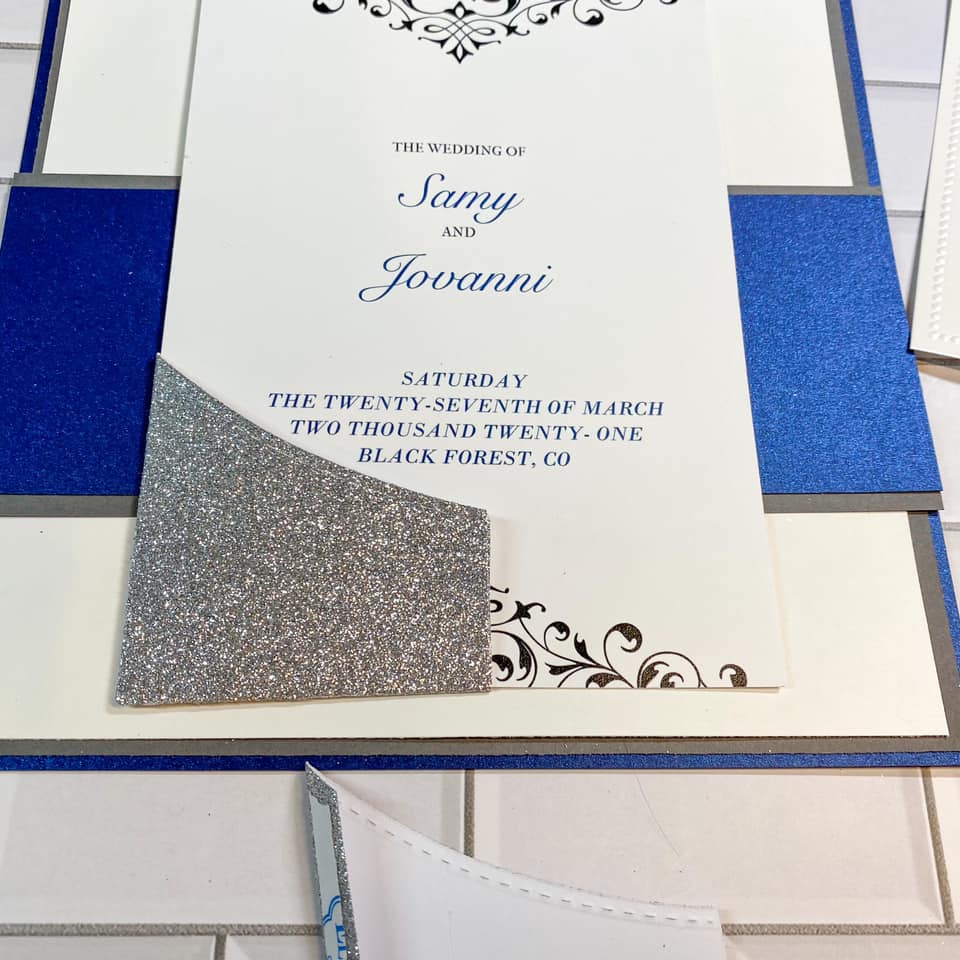
Below you can see the Invitation and Wedding detail card which are going to be center stage.

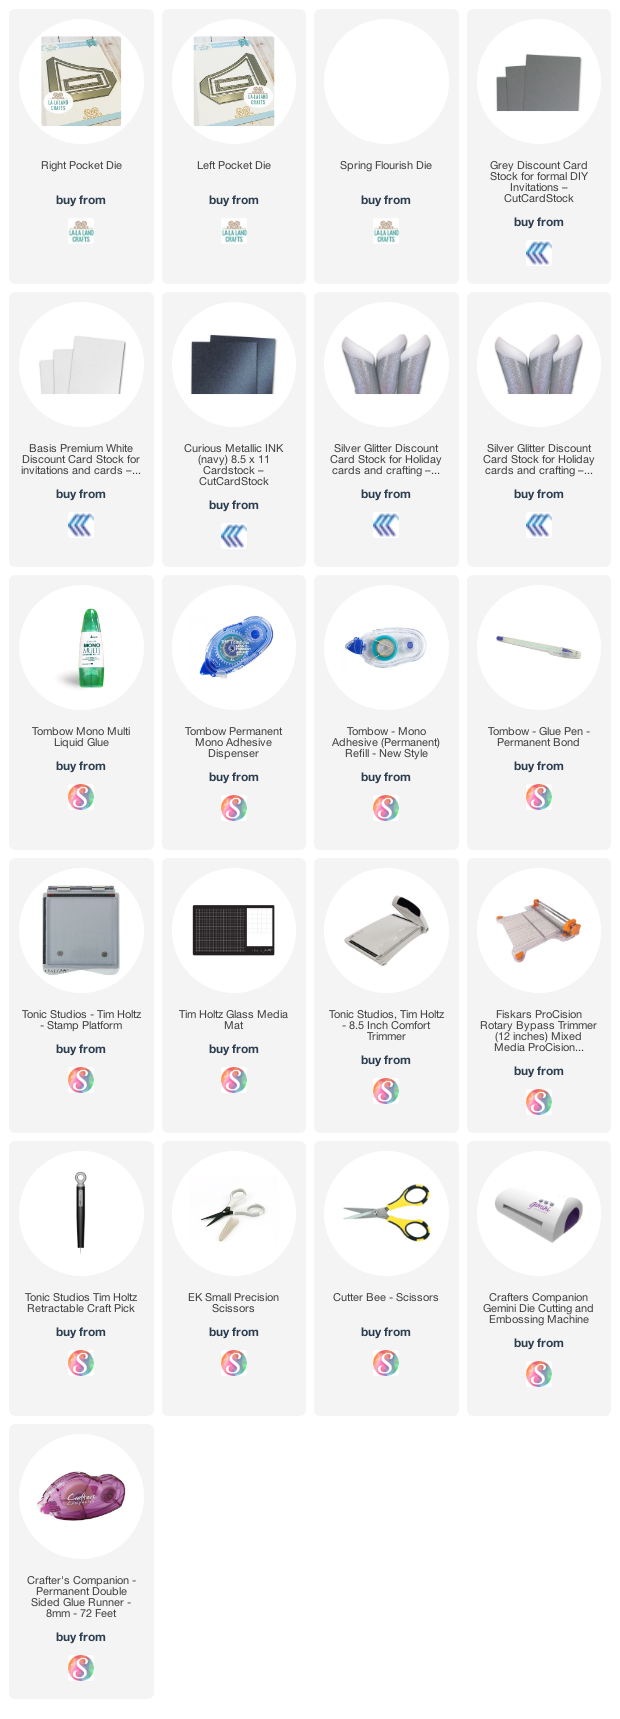
Next up, I used 2 dies- a Right Pocket Die and a Left Pocket Die- and cut my pockets with the Silk Glitter Silvermist Cardstock

Next, add some double sided tape to both pockets.
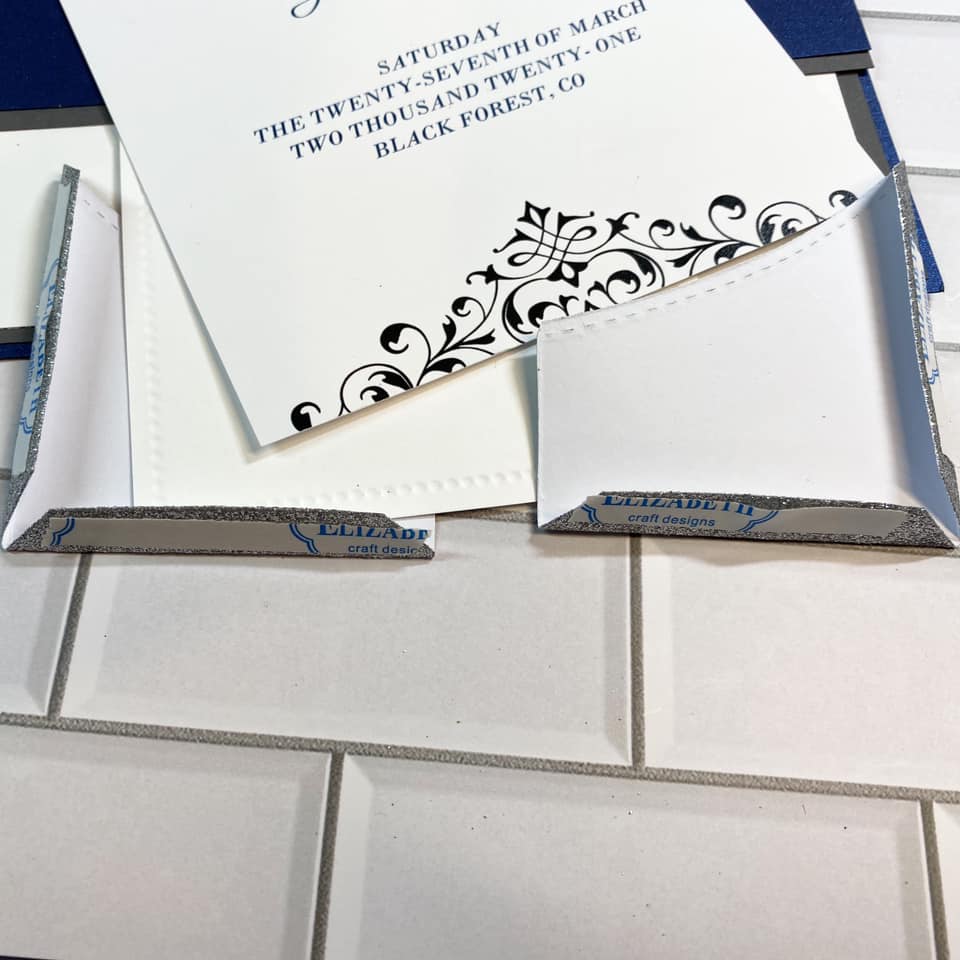
I cut off the end pieces that would meet in the middle to create my large pocket.
I find it easiest to add the pockets to the largest of the items that the pocket will hold before adhering the pocket to the layout to ensure everything fits OK.
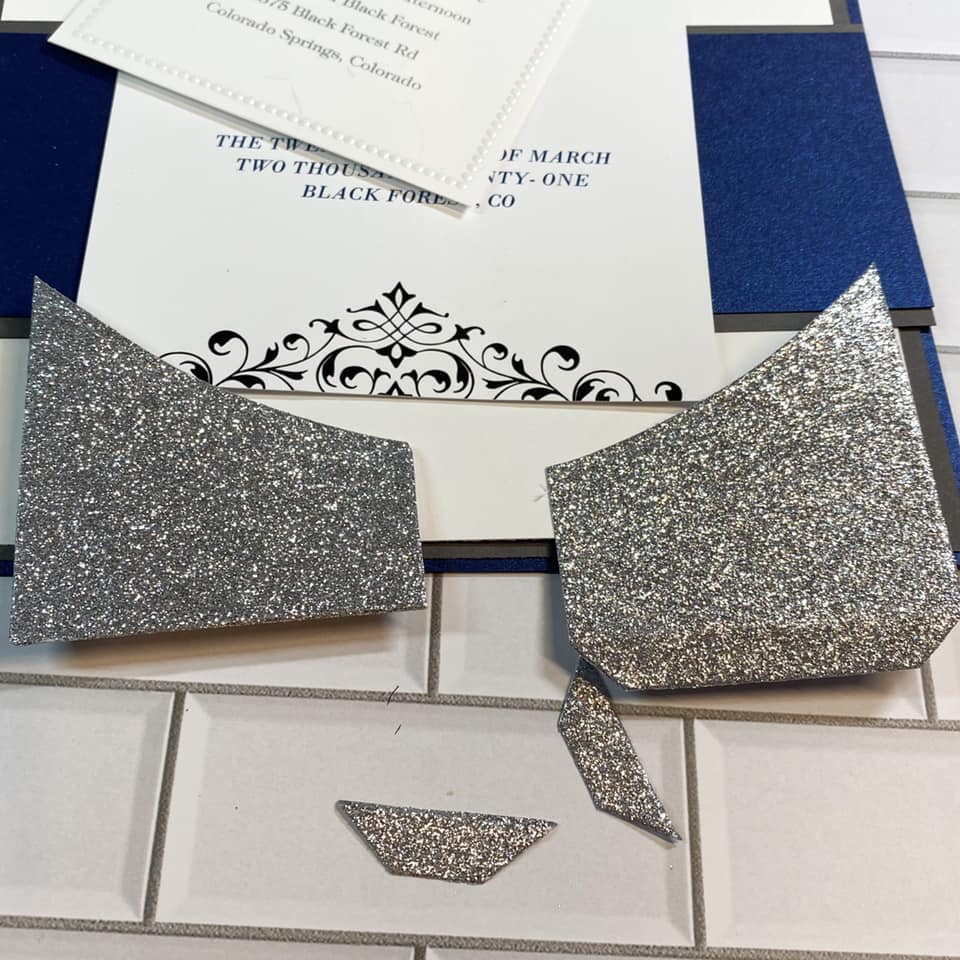
Once both sides of the pockets are applied, I cut a fancy die to cover the pocket. This die below is called Spring Flourish Die. I cut with both my Silk Glitter Silvermist Cardstock as well as my Curious Metallic Cardstock.
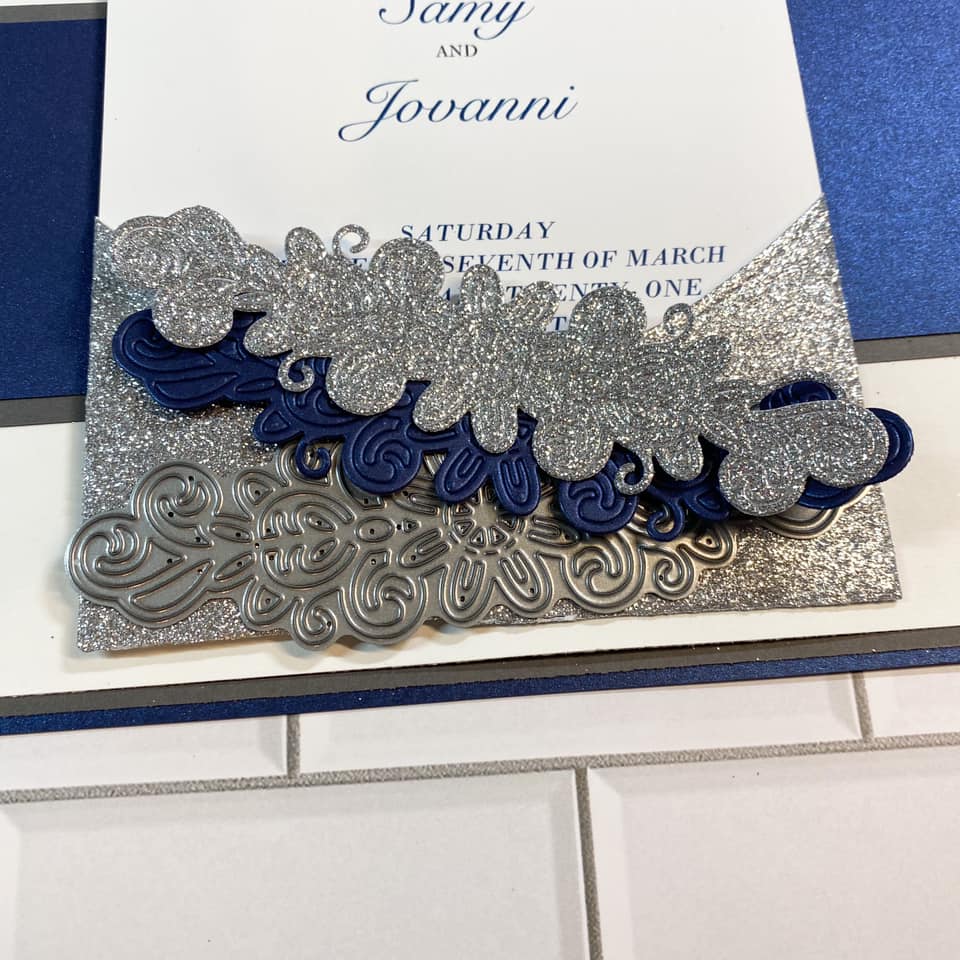
I added both to my pocket as shown below, and added a gemstone to the center of the die cut. I love how the die looks like a monogram with the gorgeous cardstock.

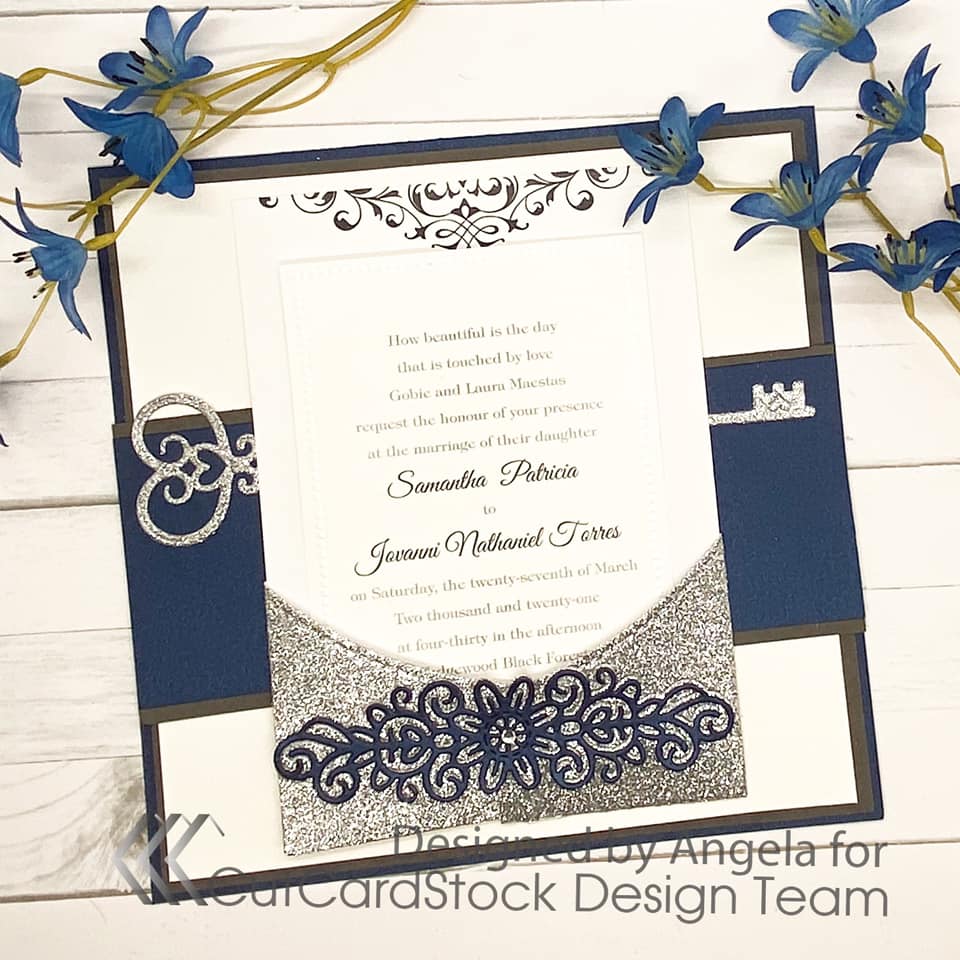
Lastly I used a Key Die with the Silk Glitter Silvermist Cardstock and cut the key in half. I put half to the right and half to the left as seen below.
And here you have the finished page. I love how it turned out.
Stay tuned for my post at the end of the month for the companion page for this layout!
See you soon!
No comments:
Post a Comment