
Hey everyone! Angela here with my first project on the CutCardStock Design team, and I am so excited to share projects with you. Today I am sharing a Floral Themed Scrapbook Page. While some scrapbookers only like to create in one size, others like to create multiple size layouts. I fall into the latter – I love creating albums of all sizes, and today I share a step-by-step tutorial on an 8″ x 8″ scrapbook page featuring Curious Metallic Cardstock in Lime Green.

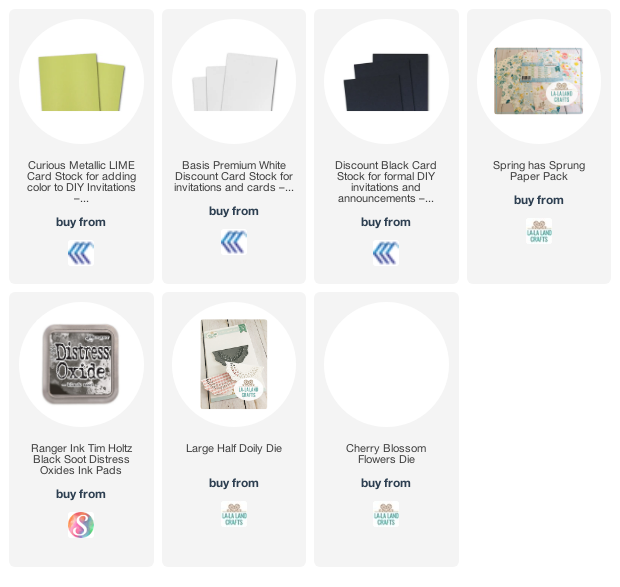
I started my layout by cutting a piece of Basis Black Cardstock at 8″ x 8″. Next, I cut my Curious Metallic Cardstock- in Lime Green at 7 3/4″ x 7 3/4″.

I had some 6 x 6 pattern paper with beautiful florals. It matched the lime green color well, and I then used the other side of this paper as a complimentary paper. I cut my pattern papers down to: 4″ x 5 1/4″, 2″ x 5 1/2″, 1 3/4″ x 2 1/2″ and 3 1/2″ x 4 3/4″. With a photo covering the middle, the papers don’t have to meet the middle. Do not adhere your papers yet. At this point, we are just laying out the design.

Next, we are going to cut the photo mats. Using the same Basis Black Cardstock, cut a photo mat at 4 1/4″ x 5 1/2″. Next, I used Basis White Cardstock at 4′ x 6″.

Next, we will ink all of the edges with your choice of Black ink (or other colors). In this case, I have used Distress Oxide in Black Soot.


Once everything is inked up, you can assemble the papers together using your adhesive of choice.

Now that my papers are laid out, I can add my photo mats.

Now we can work on embellishing our page.

Next, I die cut a couple of half doilies with my Basis Black Cardstock and Curious Metallic Cardstock in Lime Green and some flowers with my coordinating pattern paper and then inked the edges.

I put my doilies together, with the black behind the lime green (which makes it pop) and added my flowers to the corners of my photo mat, and added some gemstones to the centers (do not adhere down until you add the photo). Then, I trimmed my photo down to 3 3/4″ 5 3/4″ and added to my photo mat. I added my flowers to the corners and then added a few to the bottom right to balance my page. I added a few more gems to my page.


No comments:
Post a Comment