Friday, March 29, 2019

Poppies from Red Hibiscus Designs and 7 Kids Crafts


Today I am back with a fun digital stamp from Red Hibiscus Designs, who has teamed up with 7 Kids Crafts.  Luisana Lowry, is such a talented artist and I am so thrilled that she has joined the 7 Kids Family.   

You can get this image free through Sunday by being a member of the 7 Kids Crafts Facebook group.    If you are not a member, it’s simple, just ask to join. 


Because I have never colored Poppies, before coloring I googled looking for colors. – Believe it or not- Poppies are not just red.  I had no idea there were so many combos, but decided for this first one to go a bit traditional.   I loved the photos I saw where the Stamens were Purple, so I went for the color combo. 


Copics Used:
R59, R37, R35, R32, R22, YG67, YG17, YG63
Stamens- V17, V12


I did add some Tonic Studios Nuvo Aqua Flow Glimmer Gloss Pen to the petals, however it is hard to see in the photos. 
I went for a very simple card as I really feel like the image (along with the sentiment I typed in a pretty font and added) really speak for themselves.     


I printed the sentiment on a piece of vellum and after wrapping one end, put a bit of Tonic Nuvo glue pen on the other end in 2 small spots and put a few small enamel dots over the glue to hide those spots.   Lastly, I matted the image on my card base. 


I hope you enjoyed! 

Wednesday, March 27, 2019

A Space Birthday

Today I am back with a fun card that shares a new technique for me- alcohol inks and Yupo Paper.

I started by taking a piece of Yupo paper and my Ranger Alcohol inks in the following colors:

Pool, Pink Sherbert and Purple Twilight.   I slowly dripped the ink on my paper allowing it to flow just a bit then took my applicator and blended a bit by dropping up and down.   I did not want a super blend, but rather wanted it to look like a night sky.    I was surprised this being my first time using at how quickly this dried. 

I used A Boy's Dream as well as the Moon Background Stamp from Whimsy Stamps. 


Once it was dry I used my A2 Layers Combo dies  from The Stamp Doctor to cut my base layer and my sky. 

I colored my Moon and spaceship with Copic Markers:
W5, W3, W1, T5, T3, T1
B39, B37, B24
YR68, YR65, Y17

Next I fussy cut both images out (I did cut off the top of the space ship/rocket.  It was very small to fussy cut and I id not like how it looked.


I added some foam tape to the moon and adhered to my card base.   I then flipped over and cut the edges that were overhanging off.   I also added some foam tape/dots to the rocket.   I stamped my sentiment on my white cardstock and after cutting down I inked the edges with Lawn Fawn Deep Sea ink.  Once I adhered it to the bottom I placed my image over the end.    I then used a white gel pen to add "stars" to my background, and then lastly I finished by adding some glossy accents to the glass windows on the ship.   


I hope you enjoyed this fun card!  I can't wait to continue to play with these stamps, dies and inks and see what else we can come up with!


**Compensated affiliate links used when possible at no extra cost to you. 


Tuesday, March 26, 2019

Making faces Tobie from Some Odd Girl

Total confession time for me.  I love all of the digis that Some Odd Girl carries but I have a special adoration for characters Tobie and Tia.  You see my dogs are Toby and Tia – so those names just pull at my heart.   

So when Kristy released Making Faces Tobie digi (and there’s also a Making Faces Tia digi as well) I definitely jumped at the opportunity to play with them. 


Making Faces Tobie makes me think of telling one of my nephews to smile when I take a photo and I get a funny face.   

So I decided to make a faux polaroid frame for the card.  I used The Stamp Doctor's A2 Layers combo diesfor my layers.  


Colors used:  


ProMarkers: Coral, Sunkissed Pink, Blush and bit of baby pink for his cheeks.

Copics:
Pants and shoes: B95, B93, B91
Hair: E79, E25, E23  (added some Prismacolor Pencil- chocolate- PC 1082)
Hoodie- YR68, YR65
Eyes: YG09, YG03
Shirt and socks: W1 (wanted more of a white look so one muted gray helps)
White gel pen for accents

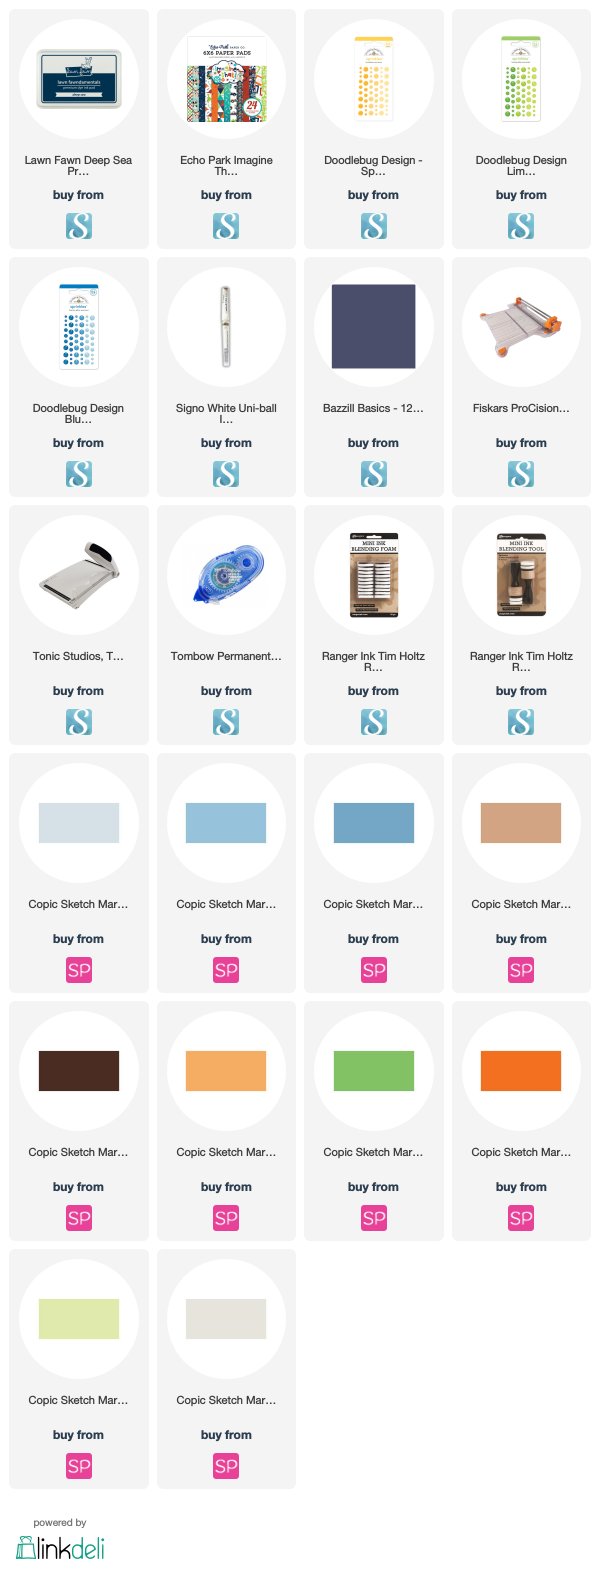
I used Echo Park’s 6 x 6 Imagine That – Boy, and Moody Blue cardstock from Bazzil.   I inked the edges of my cardstock with Lawn Fawn Deep Sea. 

I then added some enamel dots from my stash.  I have linked some alternatives below that would work with this card and colors.  Last I added some cork embellishments from my stash.  

I hope you enjoyed!


***Whenever possible compensated affiliate links used when possible at no extra cost to you. 


Wednesday, March 20, 2019

Baby Bunny Butterfly from Sweet November Stamps and 7 Kids Crafts

Today I am here with a fun side step card featuring Baby Bunny Butterfly from Sweet November Stamps and 7 Kids Crafts and featuring dies from The Stamp Doctor. 

This adorable image is part of the Vault release available for a limited time over at 7 Kids Crafts. 


I started with my Side Step Card base that was cut with the Side Step die combo (card die and layers) from The Stamp Doctor.  


Next I cut my layers and laid them out so I could see what else I might want to add.   I also did some die cutting of the elements I wanted to add to my card.

Dies used:
Egg Carton - Card in Box Add on- for the eggs and flowers
Large Chocolate Bunnies
Small Chocolate Bunnies (pictured but did not end up using
Grass Tops
Tiny Carrot Dies (pictured but did not end up using)
2" Tag Topper

See bottom of post for cloud options


Once I had everything cut, I added a few extra layers to my base and colored my image.

Copics Used:  
N5, N3, N1, E33, E31, E25,
 R21, BG15, BG53, V12


Next I added some of my elements along with 
my Baby Bunny Butterfly Image.


Lastly I added a sentiment that I typed up.  
I inked the edges with Lawn Fawn Sunflower Ink.


And there you have it.  A fun side step card that is super adorable and fun.


I hope you enjoyed!
See you soon!


Compensated affiliate links used when possible at no extra cost to you. 


Use code angelsheartsnmemories at The Stamp Doctor to take 10% off your order of regularly priced items.


Walk through Wednesday with 7 Kids Crafts.

Today I am here with a gate fold card featuring BabyBunny Egg from Sweet November Stamps and 7 Kids Crafts.  This adorable image is part of the Vault release available for a limited time.

Start a piece of cardstock that measures 5.5” x 8.5”

Score one side at 2 1/8” and flip and score the other side at 2 1/8”


Next cut your mats-  the middle mat on the inside will measure 5 1/4” by 4”  The gates will measure 1 7/8” x 5 ¼”
The image was printed and cut to be 2 1/2” by 3 ¾ “   I matted on a piece of cardstock 2 ¾ “ by 4”

Colors Used:

Copics Used:   N3, N1, E25, R21, E79, R85, R83, R81
ProMarkers: Skin- Coral, Sunkissed Pink, Blush


I added adhesive to one side of my image and mat and adhered to the left “gate”
I also inked all of my edges with Pixie Dust Ink from Catherine Pooler. 


I hope you enjoyed!

See you soon!


Tuesday, March 19, 2019

Hey Mae from Some Odd Girl

Today I am back with another great image from Some Odd Girl.  Hey Mae was recently released as a digital image.


Colors used:

ProMarkers-

 Skin- Coral, Sunkissed Pink, Blush
Cheeks- Baby Pink
Lips- Antique Pink

Copics:

Sweater and boots: R59, R37, R35
Jeans: B97, B95, B93, B91
Eyes: BG09, BG01
Hair: N9, N7, N5, N3, N1- 100
Tank- T3, T1
White Gel Pen


I used the A2 Layers Combo dies to cut my mats and my image and a 
2" tag topper to create the tag.

I inked my edges with Ranger Archival Ink - Jet Black.

I have linked dies and images above and all papers, inks and other items below.  Whenever possible I have linked the exact item.  If no longer available I have linked alternate items that would work for this card.  


Compensated affiliate links used when possible at no extra cost to you. 


Saturday, March 16, 2019

Let them eat cupcakes!

Today I am back with a fun card featuring Let them eat cupcakes! from Kraftin Kimmie Stamps.


Colors used:

ProMarkers:
Skin- Coral, Sunkissed Pink, Blush and Baby Pink for the cheeks

Copics:

Pants and shoes:  B99, B97, B95, B93, B91
Apron and oven mits: R85, R83, R81 BG15, BG09
Hair: E29, E25, E23
Shirt: C0, YG03
Headband: E15, E09
Cupcake Pan- N5, N3, N1
Cupcakes: E43, E41

I used dies from The Stamp Doctor to create my card.   


I love this combo because not only can I easily cut my card, but the layers take all of the work and guessing out of making the card.

I used Doodlebug Cream and Sugar 6 x 6 paper pad.  

I added a few enamel dots and inked all of my edges with Tim Holtz Ground Espresso distress ink for the finishing touches.   


I hope you enjoyed!


See you soon!


Friday, March 15, 2019

I heart you Anya from the Greeting Farm and 7 Kids Crafts


Today I am back with a fun Stamp from the Greeting Farm, I heart you Anya.  This month The Greeting Farm is our featured vendor, and you can take 20% off of your order of these products using code: "TGF".

This stamp appears to be out of stock however you can find other great stamps from The Greeting Farm over at 7 Kids Crafts.


Colors used: 

ProMarkers:
Skin- Coral, Sunkissed Pink and Blush - Cheeks- Baby Pink

Copics:

Hair: E29, E25, E23
Flowers: R85, R83, R81, YG67, YG63
Dress: YR09, YR68

I used paper and stickers from the Echo Park Hello Spring collection kit.   I inked my edges with Tim Holtz Archival Mini Ink in Coffee.

I added some pink pearl gems and yellow ribbon and bow add the finishing touches.

Tuesday, March 12, 2019

Peaceful dragonfly tutorial with The Stamp Doctor


I am so excited to be back with a full tutorial featuring Peaceful Dragonfly from The Stamp Doctor.  If you just want to watch a video- please scroll to the bottom.

For this card - products used are below.   Right now the Nested Ovals and Zig Zag border dies are on sale March 11 through March 17th at 20% off!  Also you can use code angelsheartsnmemories to get 10% off non-sale products.


Dies and stamps used:


Papers I used for this card.   Enamel dots can be used but for this tutorial


Other items used:


I started by cutting my bases with the A2 Layers combo.  Next I inked the edges with Lawn Fawn Grape Jelly ink.  


Next I cut my Ovals using the Nested Ovals and stamped my sentiment with my black ink.   Once stamped I adhered everything together to get my layers.


Next I cut 2 strips of paper down (patterned and solid) so that I could run through my die cutting machine with the Zig Zag Borders dies.


One helpful hint.... because the zig zag border dies come with a cutting one, a cutting and stitch one and also a stitch one.... you can use the 2 that cut and line up on your paper and use stencil tape or washi tape to hold if you want to be sure your layers are even. 


Once I had my zig zag strip cut I adhered together.

Next I added 3D Foam Board but cutting a strip and adhering on both sides with adhesive


Next I adhered my oval layers with sentiment to my card


Next I die cut my dragonflies and then used my stamp positioner to line up and stamped.


Next I colored the dragonflies with Copic Markers

V17, V15, V12 V01 RV19, RV17, RV13, N5, N3


Once colored I used Nuvo Aqua Gloss to add some sparkle.  


Lastly I adhered the dragonflies to my card. 


A couple of variations- 

You could add enamel dots to the oval as below.  Also I only did 2 layers of ovals.


And one more variation with a paper change:


Want to watch this process? 


Compensated affiliate links used when possible at no extra cost to you. 

I hope you enjoyed


See you soon!


Music Mae from Some Odd Girl


Today I am back with a fun image from Some Odd Girl, recently released in digi form Music Mae.  I love listening to music and I love the color purple, so I decided to go with purples for my colors.  


Colors Used:

Pro Markers:  Skin
Coral, Sunkissed Pink, Blush, Baby Pink for cheeks

Copics
Shirt and shoes: V17, V15, V12
Jeans: B99, B97, B95, B93, B91
Hair: E29, E25, E23
Headphones: N5, N3, N1
Eyes: YG67, YG17, YG03

I cut my layers with the A2 Layers Combo from the Stamp Doctor, and then added a couple circle die cuts.  
I added a few die cuts cut in silver foil paper and a few pattern papers added into the mix.   From there I kept my embellishments simple.

I hope you enjoyed.  

See you soon!


Friday, March 8, 2019

Flying with friends with Mama Elephant and 7 Kids Crafts

Happy Friday!   Today I am back with a fun card featuring Flying with Friends from Mama Elephant available over at 7 Kids Crafts.  I got this set before Valentine's day but ran out of time to play with it.


Copics Used:

Elephant: N7, N5, N3, N1 ears: R20
Balloons: R59, R37, R35

I stamped the sentiment with Catherine Pooler Midnight Ink on a Stitched Circle Dies from The Stamp Doctor.  And then cut a stitched circle a size up for my mat.  

I did my background with a Burlap Stencil from Kraftin Kimmie, and Rockin Red ink from Catherine Pooler.  any stencil will give you just enough color in the background.   7 Kids Crafts has a great selection of stencils.  I cut my White mat and Red mat with the A2 Layers Combo from The Stamp Doctor.   

I cut a banner flag for the top of the card and matted with red cardstock and added a few sequins from Pretty Pink Posh.  


I hope you enjoyed.  

See you soon!


Tuesday, March 5, 2019

Magic Tia from Some Odd Girl

I am back today with a fun project featuring Magic Tia.   I love this image because I believe we can find magic in so many daily things.


Colors Used:

ProMarkers:  
Skin- Coral, Sunkissed Pink, Blush, Baby pink

Copics: 

Hair: E29, E25, E23
Dress and Gems- R85, R83, R81
Belt, Crown and wand: T5, T3, T1
White gel pen

I cut my image out with the Nested Ovals dies from The Stamp Doctor.

I created the tag with The Stamp Doctor 3" Tag topper die and added some pink ribbon to the top.  


I cut a few layers in coordinating papers, used my edge distresser and inked the edges with Ranger Archival Black ink.

I added a sticker I found in my stash that I felt was so perfect for this tag.  


A few black enamel dots add the finishing touches.

I hope you enjoyed.   

See you soon!


Friday, March 1, 2019

The Brownies from Sweet November and 7 Kids

Happy Friday!  It's time for another release from Sweet November Stamps and 7 Kids Crafts.

I love the Brownies.  For this card I used Marigold and Bramwell.


I stenciled my background with a cloud stencil and then added in a hill.

I colored the images and fussy cut them out and popped up with foam tape.


Colors:

ProMarkers-
Skin: Coral, Sunkissed Pink, Blush and Baby Pink for cheeks

Copics:

Her Dress: R85, R83, R81, BG11
Her hair: E29, E25, E23
His Hair: E35, E33, E31
His pants and vest: B99, B97, B95, B93, B91
Jacket: E43, E41
Flowers:YR09, YR68, YG09, R83, R81


I hope you enjoyed.  See you soon!