
Hey everyone! I am back with another fun scrapbook page! This month at Cut Cardstock we are featuring Basis Cardstock This month, one of our themes is masculine. When I think of Masculine- I see reds, blues, and browns. As I was going through my pattern paper and photos to coordinate, I came across this adorable photo of my 12 year old Pomchi Toby.
My husband and I adopted Toby when he was 3 months old, just a few months after we got married and he as been Mr. Faithful over the years (and is so patient with our 3 year old – very playful and sassy Rat Terrier. I then found this pattern paper from Authentique and figured the colors would be perfect to bring across our masculine theme.

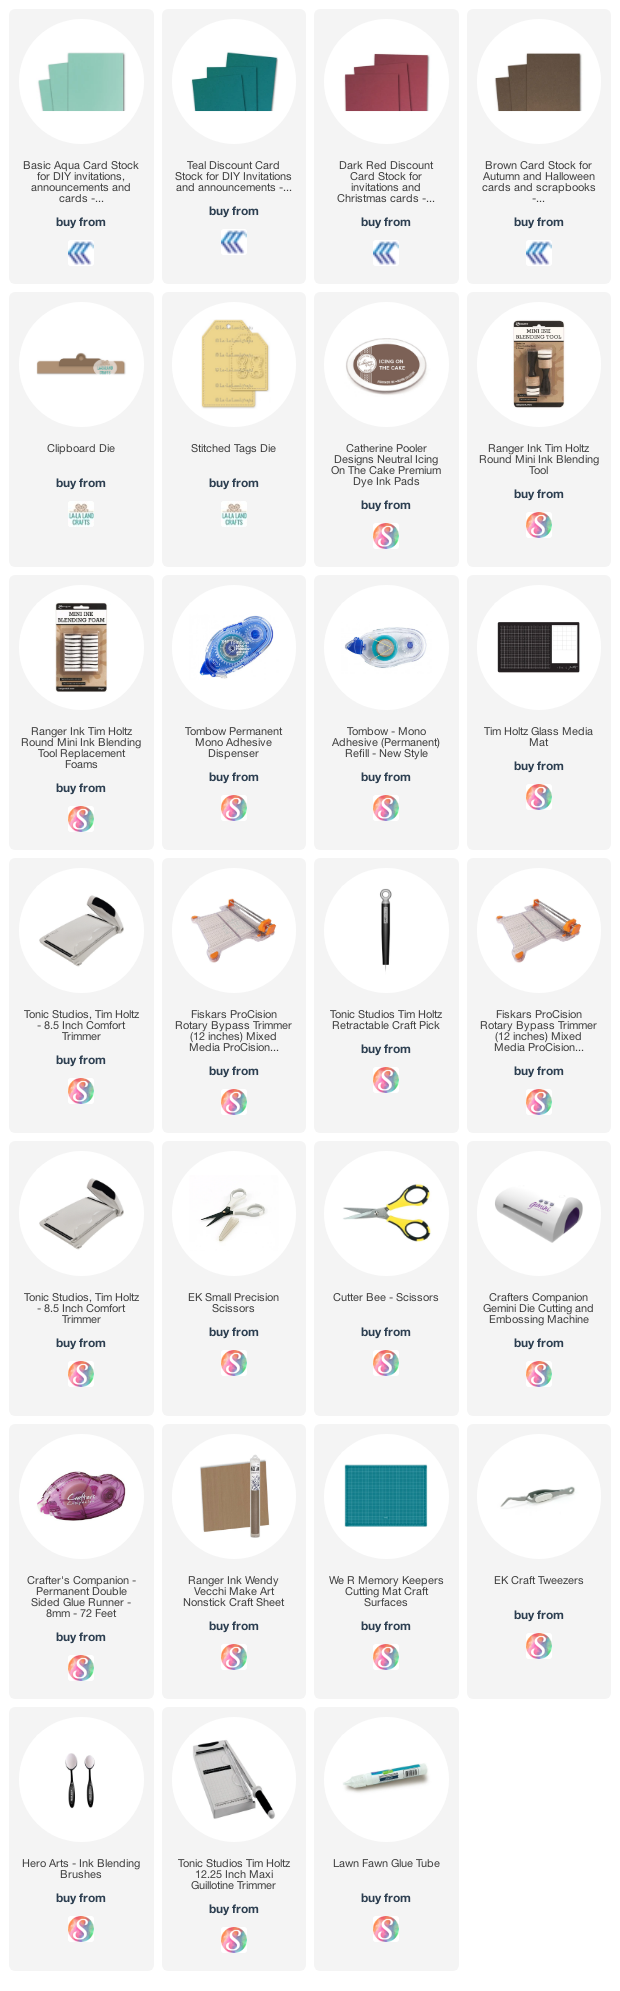
To start I cut a piece of Brown Basis Cardstock at 8″ x 8″. Next I cut a piece of Dark Red Basis Cardstock at 7 3/4″ x 7 3/4″. These 2 pieces make our base. I scrapbook in all sizes, but lately am drawn to the 8″ x 8″ layouts for some reason.

Next I inked the edges of my cardstock with Brown Ink.

Next I adhered the 2 layers together. I typically use a tape runner like Tombow Mono Adhesive, but you could also use wet glue, or double sided tape.

Next I cut additional pieces of pattern and cardstock- additional cardstock used- Aqua Basis Cardstock,- 8″ x 4″and Teal Basis Cardstock– 8″ x 3″ and my pattern strips are 8″ x 5″ and 8″ x 2 1/2″.

Next I inked my strips. You don’t gave to do the ink the edges, but I love the look of the distressing on the layers.

Once everything was inked I layered all of my strips to create my layout base. I love the mix of the stripes and the pawprints. I love to combine patterns- but I will usually break up between with solid cardstock.

Next I cut some various dies- Circles from Stamp Anniething. Tags and clipboard die from La-La Land Crafts. In the end I did not use the circle tag, but just stashed away for another day. I inked the edges of my dies with the same ink.

Next I cut my photo at 4″ x 4 3/4″ and the mat at 4 1/4″ x 5″, as well as a quote card at 3″ x 3″ and the mat at 3 1/4″ x 3 1/4″, and then inked those mats and the quote card.
And can I add- how cute is this boy??

Next I added my tag to the layout tucking under my panels, and then added the clipboard tucked in as well.

I played a bit with my photo and quote card a bit as I wasn’t sure how I wanted to arrange- or if I wanted straight or wonky- but settled on straight.

Next I added some letter stickers that I found in my stash- making my title to the page. I also added a bit of red polkadot ribbon to the tag- along with the die that goes top of the tag. You could use white or brown floss to tie the ribbon at the top of the tag, but today for this page I brought out my Tim Holtz attacher and added a few little staples.

I decided to add the other tag to the right, hanging off slightly. If you were going to put in an 8″ x 8″ protector, you would not want hanging off, but for this page I am actually going to add to a larger shadow box so the overhang wasn’t an issue.

I hope that you enjoyed this scrapbook layout as much as I had fun creating it. I may be a bit partial to the dog in the photo but he’s pretty adorable! Thanks for taking the time to read my post.
Until next time my friends,
Angela
No comments:
Post a Comment