Hey everyone! Today I am back with a fun card featuring Candy Cane Princess from Paper Nest Dolls.
See you soon!
Hey everyone! Today I am back with a fun card featuring Candy Cane Princess from Paper Nest Dolls.

Happy Wednesday! Today I am back with one of my favorite clear stamp sets from the November 2021 New Release Holiday Smiles.
Lastly I used the Stitched Merry Die and the Christmas from the Merry Christmas Die to add my greeting.
I added my hedgehogs with foam tape across the card to add the finishing touches.
I love how this turned out and hope you did too!
See you soon!
I added a few snowflakes from the Three Snowflakes Dies to the scene and added a few crystal gems.
I added the sentiment to the base of the Snow Globe Die, and a gem on the left side.
Lastly I added the bear with foam tape on the side of the globe, and then added bakers twine to the top for the tag.
I love how this turned out and hope you did too!
See you soon!
Happy Monday! Today I am back with a fun card featuring Deer Marci from the November 2021 New Release from La-La Land Crafts.
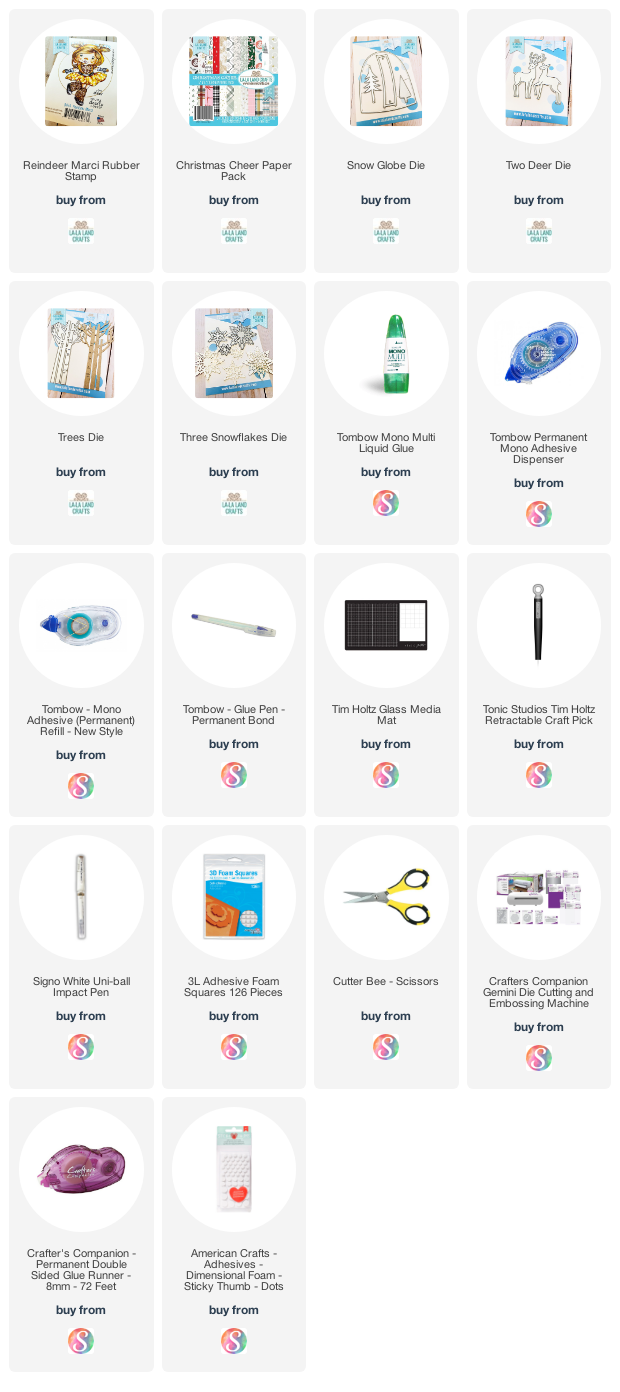
Happy Friday! This week our theme is Get Festive. I made a recipe keeper for Thanksgiving recipes featuring From My Kitchen Marci and some of the papers and dies from the October 2021 La-La Land Crafts new release.
Skin: E00, E11, E21, R20
Lips: R37, R59
Hair: E13, E15, E18
Headband and shoes: BG13, BG15, BG49
Dress: BG13, BG15, BG49, G94
Apron: N0, N1, N3 White Gel Pen
I used the Happy Fall Y'all paper pack for the pattern paper on my keeper, with the Autumn Things Die, Pumpkin Die, and Apple Pie Die from the new release.
I paired with the Small Half Doily Die and the Long Flags Die and love how this turned out.
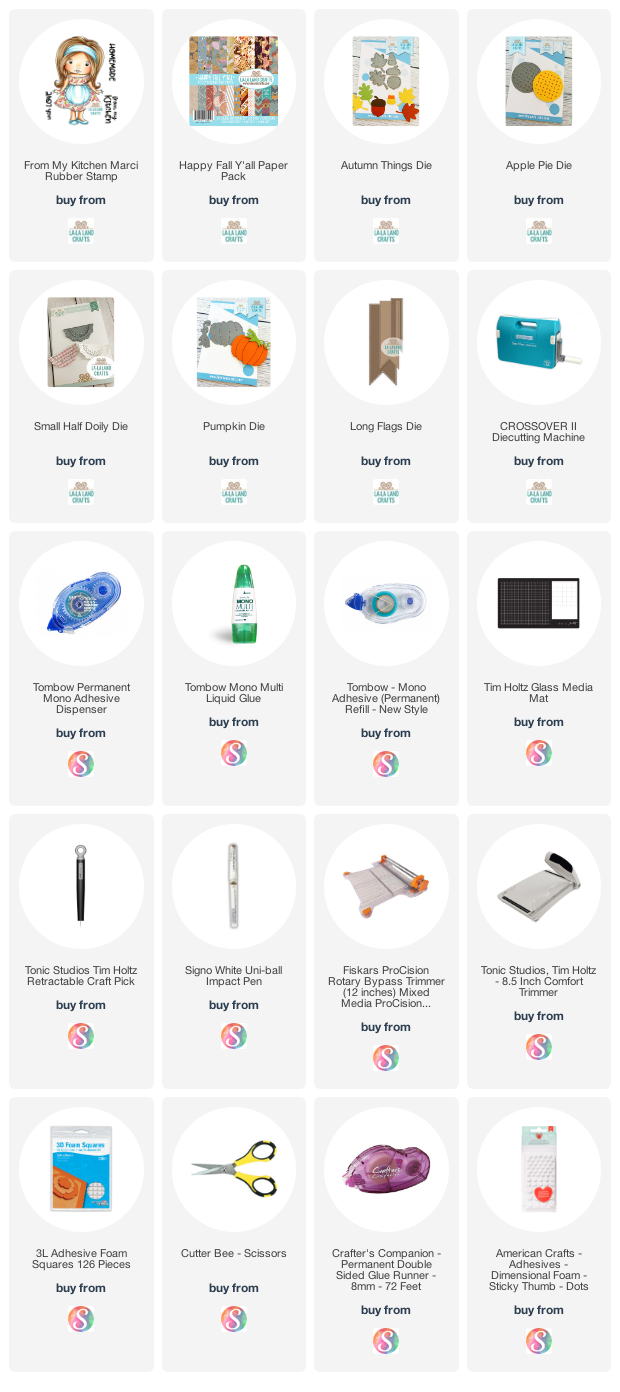
Hey everyone! I am back with a fun card featuring a fun fall set from Scrappy Boy Stamps - Happy Fall Y'all. Fall is my second favorite season (with Winter inching in ahead of it) and I love this set because - as do all of Sean's stamp sets- has so many elements.
I started with elements from 2 slimline dies from CC Designs using elements from both sets. It appears both are retired as I am not seeing available to link to.
I stamped all of my images on Xpress It Cardstock and ran through my Scan N Cut. Sean does also have coordinating dies, but having my Scan N Cut- I typically only purchase the stamps.
I used Distress Oxide to ink my base layer- Blueprint Sketch, Black Soot, Tumbled Glass.- but then I covered most of the lighter with elements so just the darker blue comes through.
I colored my images with Copics:
Skin: E00, E11, E21
Hair: Y08, Y15, Y17, Y38
Jeans: B91, B93, B95, B97, B99
Reds: R35, R37, R46, R59
Oranges: YR02, YR07, YR09, YR16
Yellows:Y08, Y15, Y17, Y38
Squirrel, Wheelbarrow and Sign: E31, E33, E35, E15, E18
Greens: G05, G07, G09, YG05, YG06, YG09, G17
Acorn Base: E15, E18
Scarecrow Face E31, Colorless Blender
Scarecrow Straw: Y18, YR12
White Gel Pen
I used a Picket Fence die from La-La Land Crafts cut 2 x with white cardstock and also Grass Border Die and Grass Patches Die (both from La-La Land Crafts- colored with Copics above)
I hope you enjoyed my card.
See you soon!
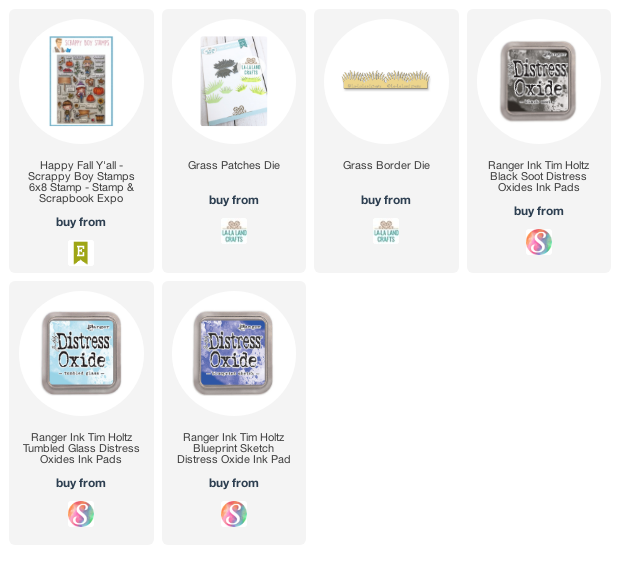
Hey everyone! I am back with a fun card featuring Brains Digi, one of the new digis released this month over at The Cat's Pajamas. I love Halloween and was excited to play with this digi. Aside from Christmas, Halloween is one of my favorite holidays! I absolutely love creating Halloween cards and I am addicted to scary movies. Do you like Scary Movies? I also love handing out candy on Halloween. Growing up we (my little brother and myself) never really trick or treated…… my grandma was a school cook so we did the school event where you knock on cardboard, but we never had the full experience. But I love being on the other side!

I printed the image on Copic Xpress It cardstock and cut with my Scan N Cut.

I colored my mummy with Copics – decided on simple coloring on this image.
Skin: E00, E11
Mummy- T1, Colorless Blender
I inked my sentiment with Black Soot Distress Oxide Ink and did an angle cut to add a bit of flair to my sentiment strip.

I used some Halloween Paper from my stash and a Haunted Hill Die, to add to the scene.
Lastly I used some hot pink enamel dots to add a pop of color.
I hope you enjoyed my card.
I would love to hear your Halloween favorites!
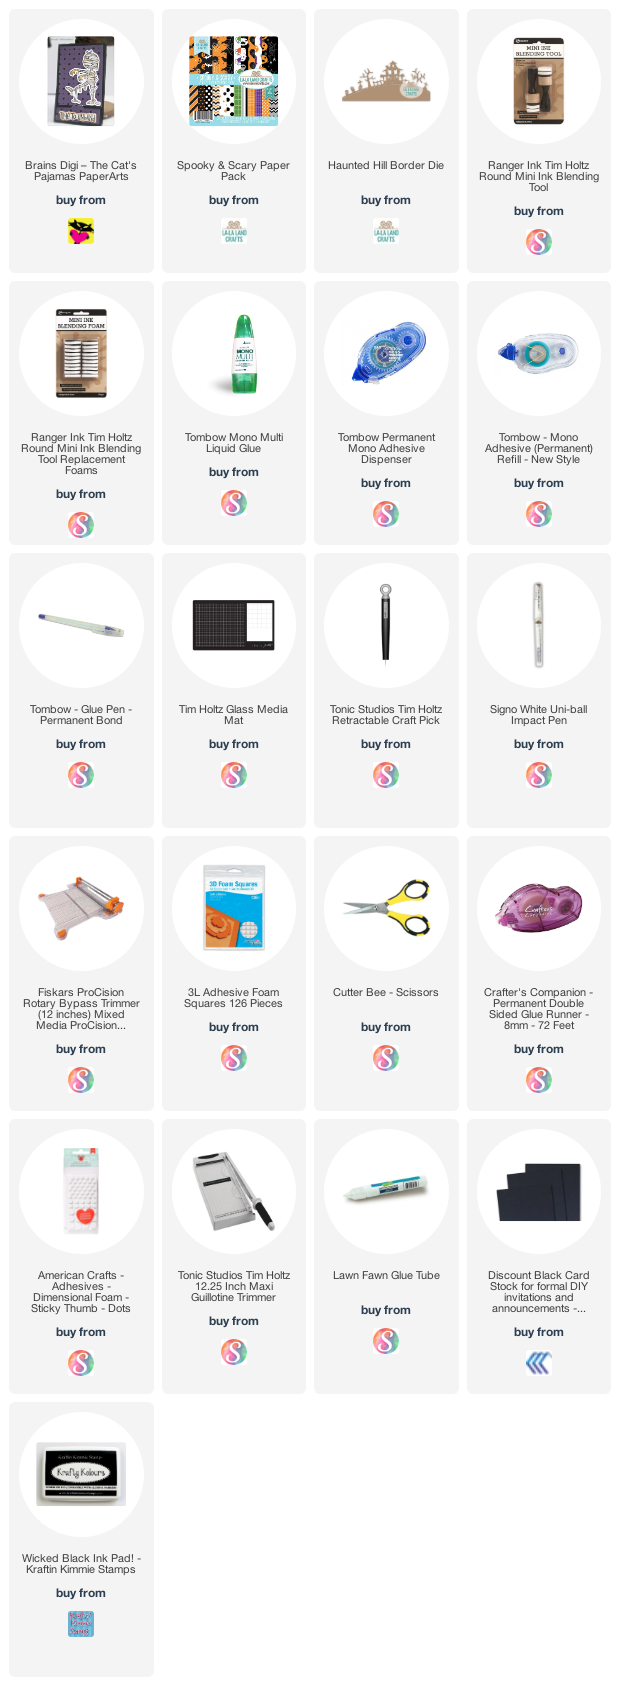
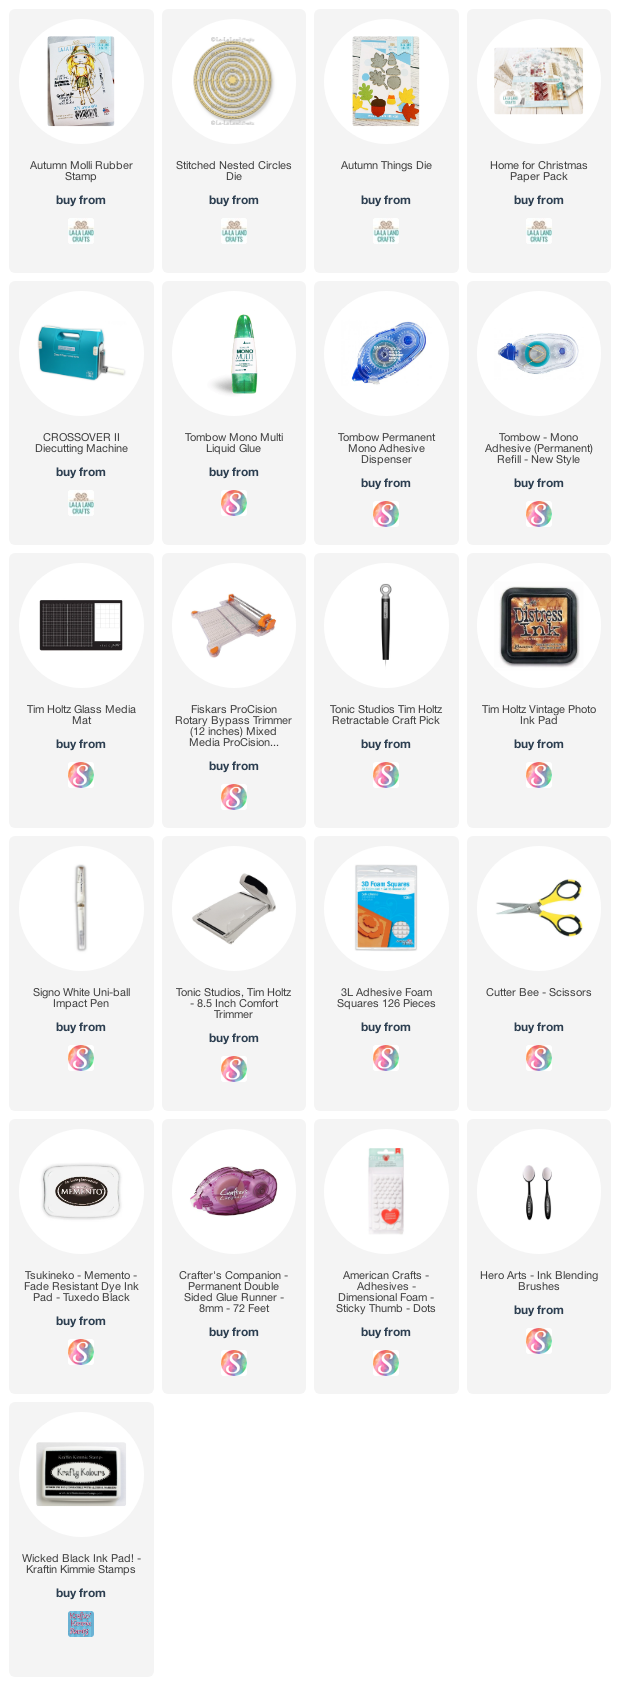
Happy Friday! Today I am back with another fun new stamp from the La-La Land Crafts October 2021 New Release- Autumn Molli.
I stamped my image on Copic Xpress It Cardstock and this time fussy cut the image out.
I colored with Copics:
Skin: E00, E000, E11, E21, RV10
Hair: E70, E71, E74, E77, E79
Reds: R17, R35, R37, R46, R59
Boots, Hat and Belt: E31, E33, E35
Shirt: BG13, ZBG15, BG49
I used the Home For Christmas Paper Pack for my patterns along with a piece of Kraft Cardstock.
I inked all of my layers with Distress Ink- in Vintage Photo and then used my edge distresser to distress the edges of my pattern paper and cardstock.
I die cut a couple of circles from the Stitched Nested Circles Dies, and added the Jingle Bells Wreath to the center.
Next I added some leaves from the Autumn Things Dies to the bottom of the card.
I added Molli to the card, with foam tape and then added a few enamel dots to the card, along with the sentiment I cut into a strip inked and distressed.
I love how this card turned out and hope you do too!
See you soon!
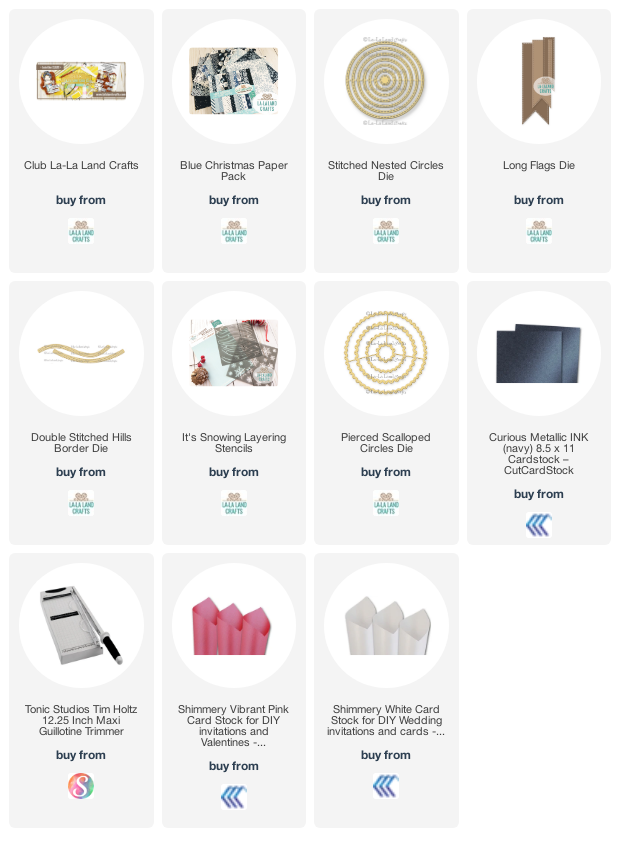
Hey everyone! I am back with the DT reveal for the October 2021 Club La-La Land Crafts Kit. I say this every month, but I sure love this kit as I love winter!
COLORING DETAILS - Copic Markers:
I love shaker cards so I decided to make a shaker to go with Marci.
I used the Stitched Nested Circles Die and the Pierced Scalloped Circles Die to create my shaker.
I wanted a Pink Winter Card- so I used a pink pattern from the Love You More Paper Pack and some cardstock from Cut Cardstock.
I cut the Large Snowflake Die in Half and added to 2 opposite ends of the circle.
Next I used the Ice Floes Die under Marci's feet. I used foam tape under Marci to add dimension to the card.
Lastly I used the Long Flags Die for the sentiment.
Now for my next card
I created a gate fold card for this one.
I used the Blue Christmas Paper Pack for this card, along with cardstock from Cut Cardstock.
I used the Stitched Nested Circles Die and the Large Snowflake Die for the left side of the fold of the gate fold card.
COLORING DETAILS - Copic Markers:
T1, T3, T5, T7, N1, N3, N5, N7
R20, BG13, BG15, BG49
YR02, YR07
White Gel Pen
I used the It's Snowing Layering Stencils with Blueprint Sketch Distress Oxide Ink a top of the pattern paper from the Blue Christmas Paper pack.
Next I used the Double Stitched Hills Border Die to go behind my cute little penguin.
I then added the Ice Floes Die for my Penguin to be on top of.
I used the Long Flags Die for my sentiment and then added some gems from Pretty Pink Posh to the center of my snowflakes.
For a full tutorial- subscribe to this month's kit and get an exclusive tutorial
I love how both of these cards turned out.
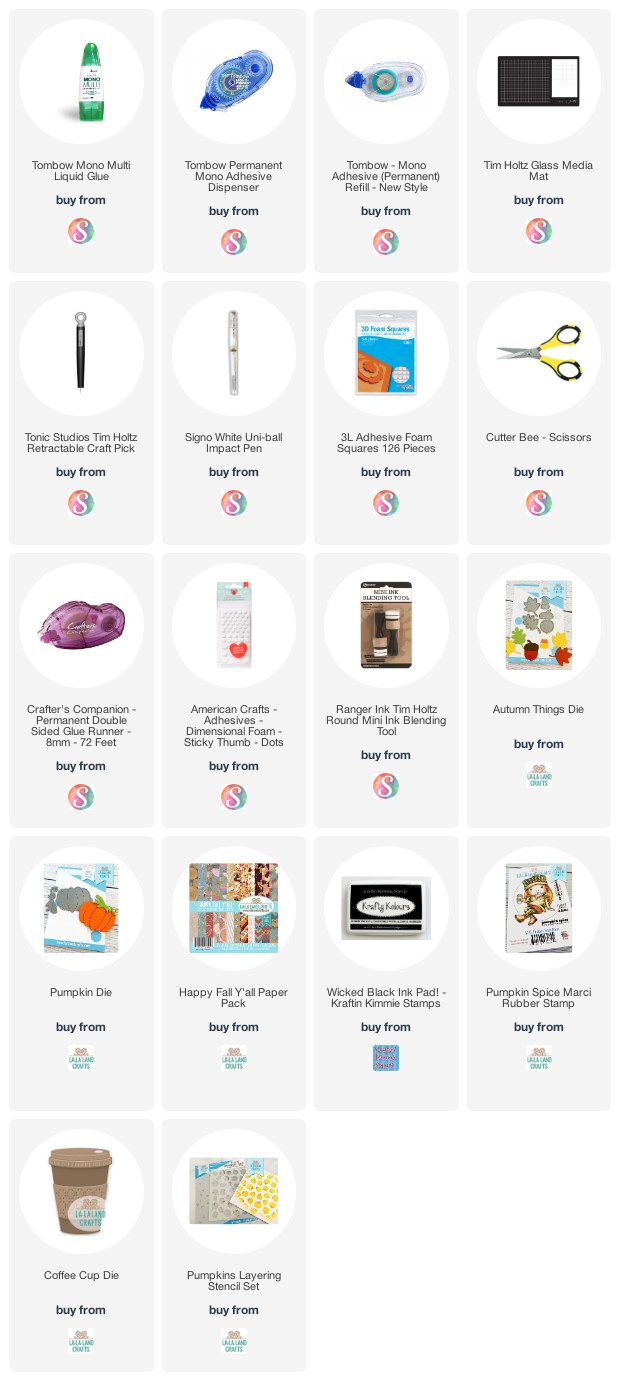
Happy Friday! Today I share a card featuring Pumpkin Spice Marci. She is one of the Rubber Stamps that were released in the October 2021 New Release from La-La Land Crafts. I was excited to get to use her, because I am someone who loves everything Pumpkin Spice- in fact I am drinking my coffee as we speak with my favorite Pumpkin Spice Coffee Creamer.
I stamped the image on Copic Xpress It Cardstock and then cut with my Scan N Cut. I also ran all of my dies through with Copic Xpress It Cardstock as well.
I then colored the image with Copic Markers.
Skin: E00, E11, E21, R20
Hair and Acorn Bottom: E25, E29, E47
Shirt, Pants and Leaves: E31, E33, E35
Reds: R35, R37, R46, R59, RV69
Green: G14, YG67
White Gel Pen
I recently had the honor of teaching in the La-La Land Crafts virtual retreat and after watching a Coloring Class that Martha Tucker taught- decided to try my hand at a puffy vest. I learned so much and although I definitely need more practice I love how it turned out.
I used the new Pumpkin Die, as well as the Autumn Things Die for the Pumpkin, Acorns and the leaves.
I then used the Coffee Cup Die with the Pumpkins Layering Stencil to add a pumpkin to the sleeve of the cup using Distress Oxide Inks- I used Dried Marigold and Mowed Lawn.
I inked the cup with a mixture of a purple mix (from my brush) and some of the Dried Marigold and did the same to the sleeve with the Mowed Lawn Ink.
I used the Happy Fall Y'all Paper Pack to create my card- and this paper helped me with my color inspiration as well.
Lastly, along with a few enamel dots I added Marci to the card with foam tape.
I love how this card turned out and hope you did as well.
See you soon!
Today I am back with a fun card as my new card entry for the Kraftin Kimmie Guest DT call. I have been lucky to Guest in the past and can't miss a Guest Call because Kimmie, the DT and the images are all just so wonderful. Today I share a fun card I made with Fairy Loved.
I stamped the image on Copic Xpress It cardstock with Kraftin Kimmie Wicked Black Ink and then cut with my Scan N Cut.
I colored the image with Copic Markers:
Skin: E000, E00, E11, E21, R20
Hair: E25, E27, E47, E79
Purples and Blues: BG10, BG13, BG15, BG49, BV04, BV13, BV25
Greens: YG09, YG17, G07
Sun: YR07
Clouds: T0
White Gel Pen
I used some pattern paper from Catherine Pooler- Hipster- because I loved the purples, pinks and blues in the patterns.
I pulled some miscellaneous dies from my stash (linked below) to build a scene fit any fairy.
Other than the Sun and Castle- all Dies were cut with Copic Xpress It cardstock and colored with the same Copic Colors
I absolutely love how this card turned out and hope you do as well.
See you soon!
Angela
