Happy Friday!! Today I am back with another fun card featuring products from the July 2021 La-La Land Crafts new release- Keepin' It Reel and some of the new dies and new paper from the release.
Happy Friday!! Today I am back with another fun card featuring products from the July 2021 La-La Land Crafts new release- Keepin' It Reel and some of the new dies and new paper from the release.

Happy Thursday! Today I am back with a fun card featuring products from the July 2021 La-La Land Crafts new release- Fishing Luka and some of the new dies and new paper.
Hey everyone! I am back with a fun scrapbook page for you. This month our featured product is gold and silver cardstock. One of our themes this month is journaling so I decided to make a scrapbook page that I can journal on.
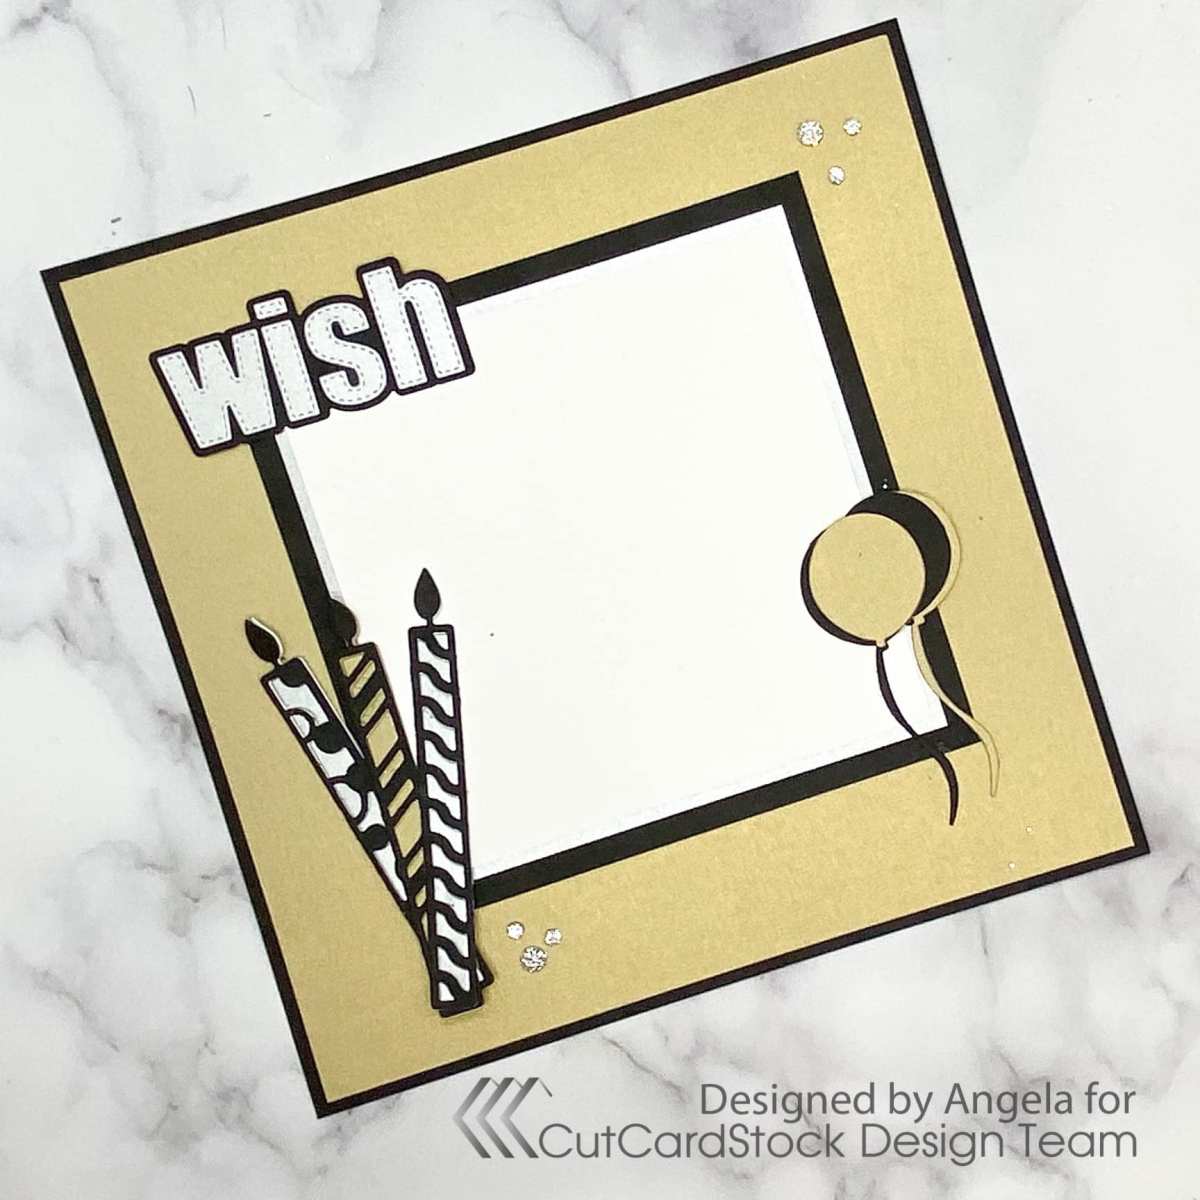
Yesterday (7-13) I celebrated by 41st birthday and I thought it would be fun to have a scrapbook page that I could journal about my birthday wishes on. I started with a piece of 8" x 8" Black Basis Cardstock. Next I cut a piece of Curious Metallic Gold Leaf Cardstock to 7 3/4" x 7 3/4".

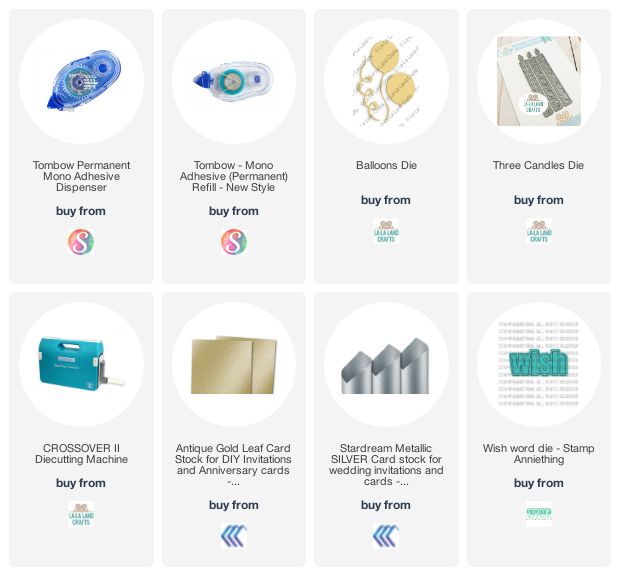
Next I adhered the 2 layers together wiht my tape runner. For this I used Tombow Mono permanent adhesive.

I love the sparkle in this cardstock! Next I cut another piece of my Basis black cardstock at 5" x 5" and a piece of Stardream Metallic Silver at 5" x 5" and a piece of Basis white cardstock at 4 3/4" x 4 3/4".

I then used my tape runner to adhere the layers together. The black cardstock is a great way to separate the gold and silver cardstock.

Next I used a wish layering die from Stamp Anniething along with my black and silver cardstock and die cut the layers, I love how the silver pops against the black. I also love how this almost looks like leather

I then repeated this with the silver, gold and black with some dies from La-La Land Crafts. Layering to allow the black to pop. This can be done with the black in front or in back!

Now I need a little bling to not only embellish the page but to also balance a bit since I don't have dies in the upper right corner.

I then adhered the journaling box to the middle and then added the dies to the layout. Some silver glitter gems add the finishing touches to the layout. Now I can sit down and really think about what I want for 41- I can write about my day- All of the sweet messages from friends, the beautiful earring my hubby and dogs surprised me with and what I wish for this year. I love how this silver and gold add some elegance to this celebration and journaling layout.
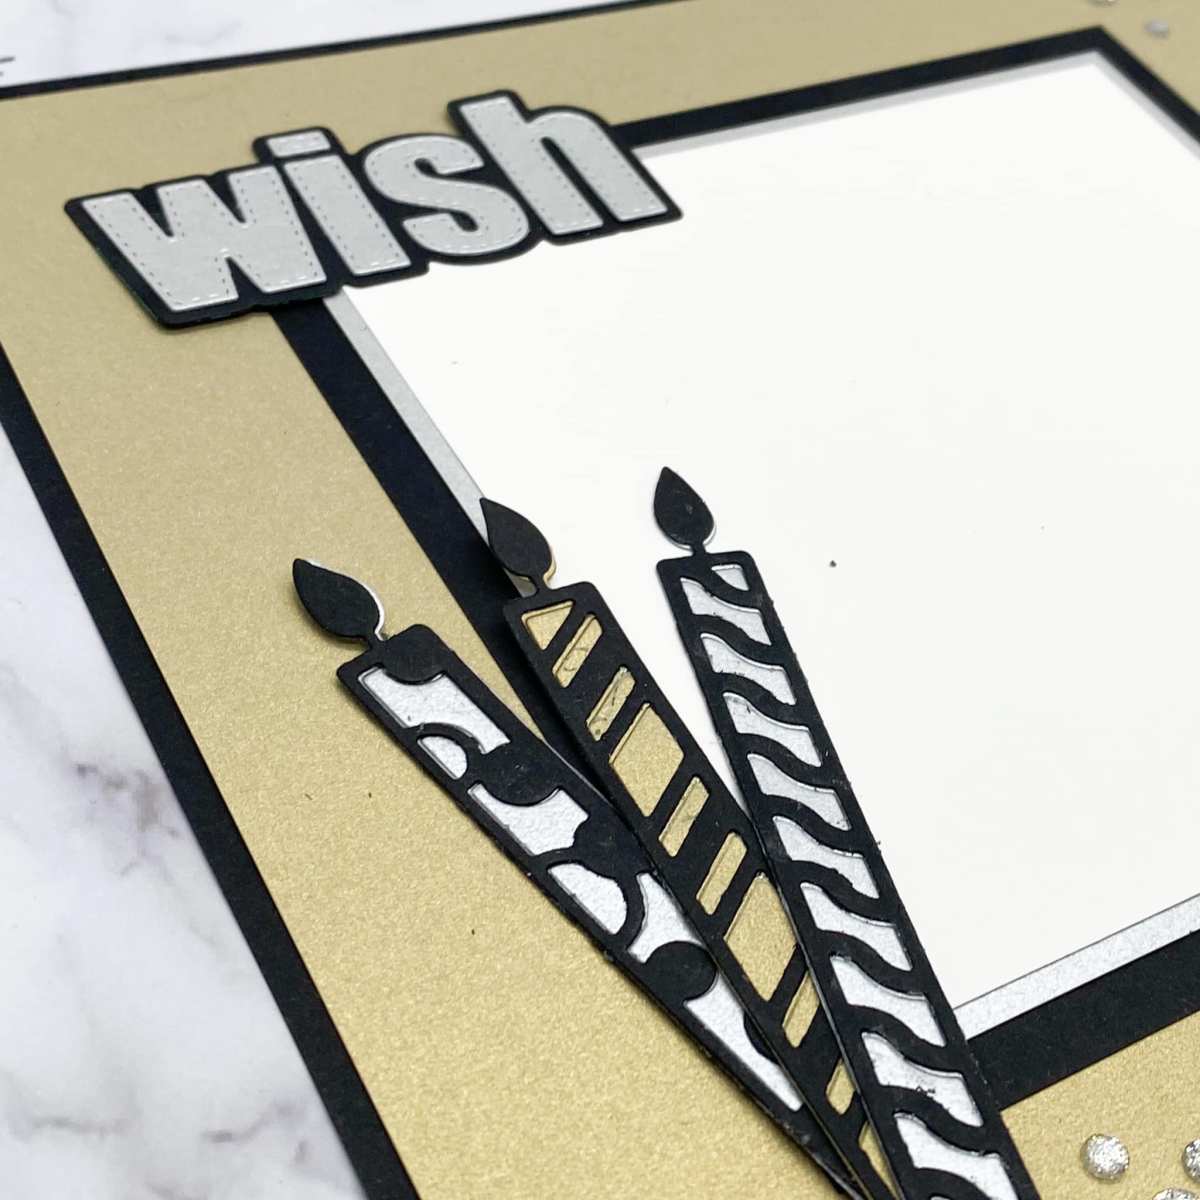
I hope that you enoyed and check out these incredible cardstocks. Until next time my friends!
Angela
Happy Tuesday everyone! Today I am back with a fun card featuring Gnoel, one of the digital stamps released this month over at The Cat's Pajamas. I printed the version that has both the gnome but also the sentiment and cut down to a rectangle. Next I printed the gnome with the ornament and cut with my Scan N Cut on Copic Xpress It Cardstock

Once cut colored with copics-
Skin- E00, E11, E21, R20
Hair and Mustache: W1, W3, W5
Hat: RV29, RV69, R35, R37, N1, N3, N5
Ornament: G05, G17, G28, YG09
Shoes: T1, T3, T5

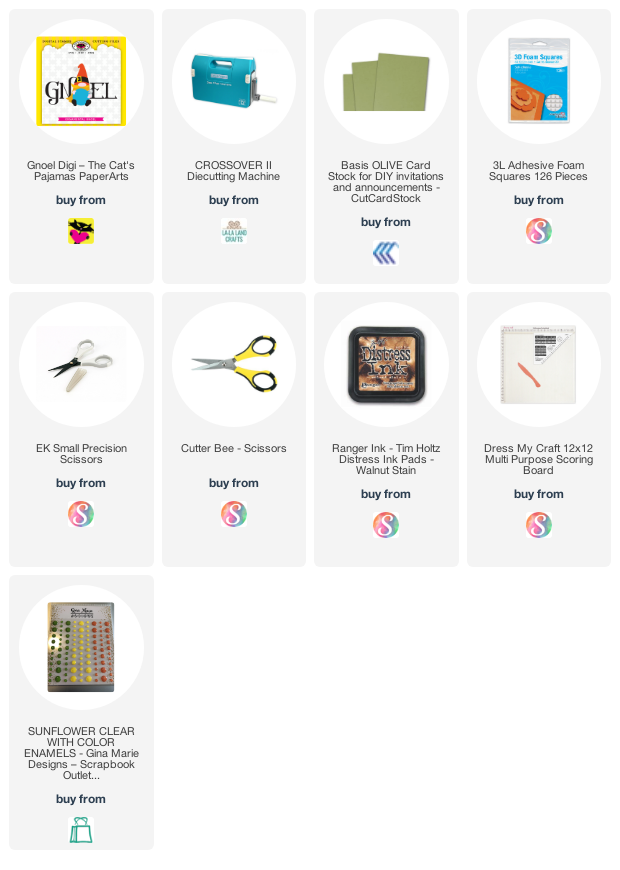
Next I cut a pieces of cardstock down for a slimline card. I inked with Walnut Stain Distress Ink. Next I cut pattern papers from the Simple Stories Simple Vintage Christmas to make my various layers. I inked all papers with the same walnut stain ink.

I used foam tape to pop the Gnome up on the card and add some dimension. I then added some enamel dots to the corners to add the finishing touches to the card.
I hope you enjoyed my card- and don’t forget the sale going on over at the shop- 60% off stamps, dies, stencils and embellishments.

See you soon!
Hey everyone! I'm back with a fun little card featuring Cherry On Top Die. I normally like to give Birthday cards, but wanted a little card that could be added to a gift bag, and could be used on it's own or in additon to another card. There's just something about an addition to gift bag.

I cut the base of the cupcake in black cardstock. Next I cut the top and the wrapper with pattern paper from my stash. I inked the edges with black ink. I wanted to mute the edges a bit and distress them.

I used foam tape to pop both the top and wrapper bottom to the base. Next I die cut the tag with coordinating pattern paper and stamped the sentiment from the Celebrate Sentiments Clear Stamp set. I then used some yellow and white bakers twine and wrapped around the back. This just adds an extra touch.

Next I cut the Cherry frompym the die set and inked with Picked Raspberry Distress Oxide ink. I then popped up with foam tape. There is also a stem that comes with this die set, but I just liked how it looked without.
I love how this turned out and think it will be the perfect addition to any gift bag.
I hope you enjoyed. See you soon!
Angela
