Friday, May 28, 2021

Card Box Featuring Birthday Present Luka with La-La Land Crafts

 Happy Friday!   This week our theme is 3D and I have created a fun card box featuring featuring Birthday Present Luka Rubber Stamp.  


I stamped him on Copic Xpress It cardstock and cut with my Scan N Cut and colored with Copic Markers:

Skin: E00, E11, E21, R20, BV20
Hair: E15, E31, E47, E59
Shirt: R29, R35, R37, R59
Jeans: B91, B93, B95, B97, B99
Hat: R29, R35, R37, R59, BG10, BG13, BG15, BG18, BG49
Boots: E51, E55, E53, E59
Gift: E31, E35, E50, BG10, BG13, BG18
White Gel Pen

After creating my box, i  used the Hello Life Paper Pack, and coordinating cardstock to create my base for the box decoration. 


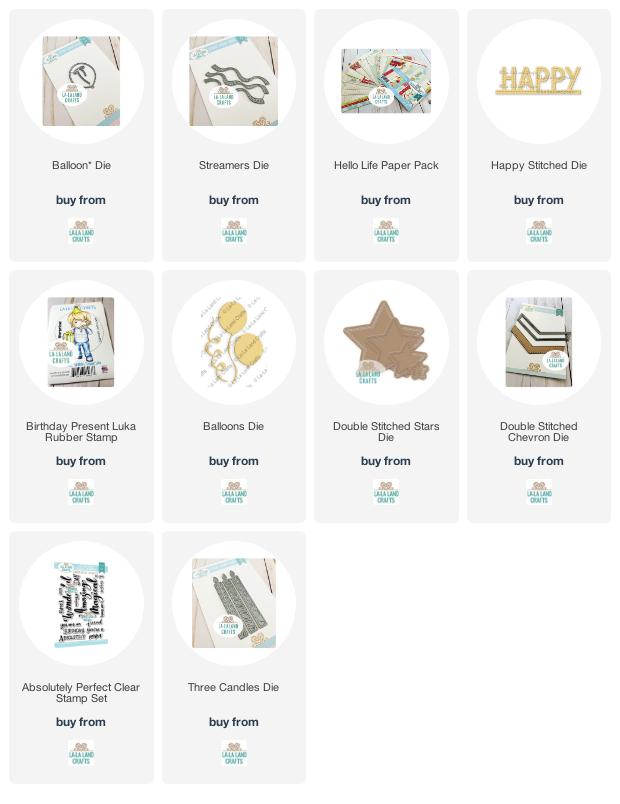
I cut various Balloon Dies, as well as streamers in different colors, then cut several of the Double Stitched Stars Dies, and several of the Three Candles DIes.


Next I cut the Happy Stitched Die and then stamped the Birthday from the Absolutely Perfect Clear Stamp Set on the Hello Life Paper Pack and added over the bottom of the Happy Stitched Die.  


I added the Stitched Chevron Die behind Luka and then popped Luka up with some foam tape.   


I love how this turned out and hope you enjoyed.

Make sure to join our LLLC FAN GROUP on Facebook for more ideas, 
inspiration and a general chit chat about our products!

Hoping you all have a great week of Creating

Angela


Tuesday, May 25, 2021

Crafty Marci from Club La-La Land Crafts May 2021 Kit


Happy Tuesday!   Today I am back with a bit more inspiration featuring the May 2021 Club La-La Land Crafts Kit.     May 31st is the last day to join and start with this kit so there is still time to join.


To start off today I have a gift card holder featuring Crafty Marci.


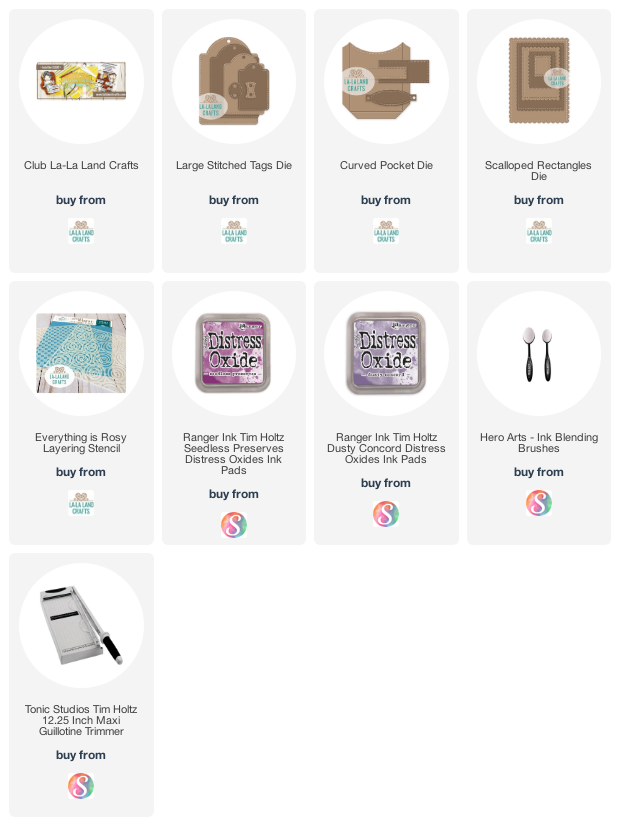
I used the Curved Pocket Die as well as the Large Stitched Tags Die to create my gift card holder.   


I stamped Marci on Copic Xpress It cardstock and colored with Copics:

Copics:

E00, E11, E21, R20

E11, E13, E15, E18

V04, V05, V06, V09

BG10, BG13, BG15, BG18

White Gel Pen

I added some foam tape behind Marci and added her to the front of the pocket.

I used the same V and BG markers for my pencil and paint brush dies, and added one to each side.   I added my sentiment with a bit more foam tape and inked the edges with Dusty Concord Distress Oxide.


Next, inspired by fellow Design Team member, Cheryl Luu, I decided to play a bit in my Plum Paper Planner.  I usually only decorate in my planner with stickers bought, or printables and cut out by me, but weekly I see her fun planner spreads featuring stencils, dies and stamps and decided to try my hand at it.


I started by using the Everything is Rosy Layering Stencil- in the checked one- with Seedless Preserves Distress Oxide.   I inked in random spots, leaving some areas white.  


Next I stamped my mice from the Makers Gonna Make Rubber Stamp Set on Copic Xpress It Cardstock, and colored with Copic Markers.


N1, N3, N5, N7, R20

V04, V05, V06, V09

E31, E35

BG10, BG13, BG15, BG18

White Gel Pen


I colored the pencil and paint brush with my same V's and BG's as used above.


I die cut the roll of tape die, and colored with N1- wanting to give it a bit of color.   


Next I die cut the Ink Pad Die and colored with my V's as above.    I added a sentiment on top of the Ink Pad Die Cut.


I cut the second from the largest Scalloped Rectangles Dies, and Inked with Rose Gold Metallic Ink from Spectrum Noir and added to my page with a mini paperclip.   


I added one of my mice to the card, and now I have a card I can move week after week and add notes that I need in the future.  


Make sure to join our LLLC FAN GROUP on Facebook for more ideas, 
inspiration and a general chit chat about our products!

You can also find great inspiration over at the Club La-La Land Crafts Facebook page.


Hoping you all have a great week of Creating!


Thursday, May 20, 2021

Sky's the Limit with The Cat's Pajamas

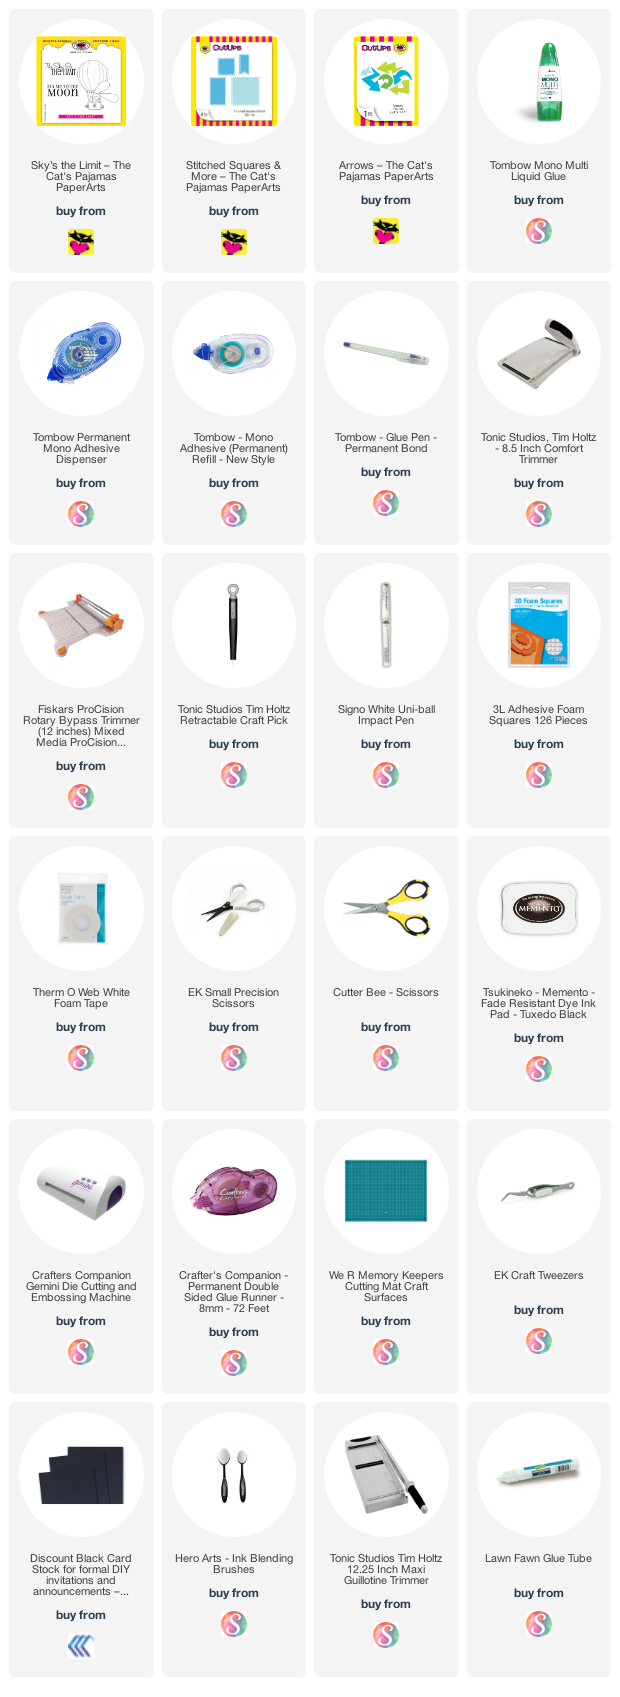
 Hey everyone!   I'm back with another fun card featuring one of the new digis from The Cat's Pajamas - Sky's the Limit.  I just love this character and was so excited to use him for a card.

I printed the image on Copic Xpress It Cardstock and cut out with my Scan N Cut.  I colored with Copic Markers:

Bunny: N1, N3, N5, N7, R20

Balloon: B00, B02, B12, RV55 White Gel Pen, Gold Gel Pen

Basket: E11, E13, E15, E18, RV06, RV55, RV66

I used the Going Round and Round Die (I believe this is no longer available as of the time of the post- as we are going all digital) to create my circle and scalloped border.   I used black cardstock, blue and pink cardstock from Simon Says Stamp, and pattern paper from the Mintay Happy Place 6 x 6 Paper Pad.

I created a standard A2 Sized card and then sized each layer down by 1/4".

After creating my layers, I inked everything with Lawn Fawn, Black Licorice Ink.   I love layers and I love inking so this card was definitely a fun one for me.

I popped my circle behind my bunny and hot air balloon up with foam tape, and before adding my image, added a strip to add some more layering and break up the pink a bit.

Next I added the image with foam tape, creating a bit more dimension to the card.   I used the Stitched Squares and More Die for the banner flags at the top left, and the Arrows Dies in pink and black add the perfect embellishments to the card.

Next I added some enamel dots and crystals to the corners of the card, and some crystals to the hot air balloon.

Lastly, I added my sentiment to the strip behind the image.

I love how this card turned out and hope you do too!  I would love to hear your thoughts!

Until next time,

Angela


Saturday, May 15, 2021

May 2021 Club La-La Land Crafts Kit- Crafty Marci

 Hey everyone!   I am back with the reveal for the May 2021 Club La-La Land Crafts Kit.  I say this every month, but I sure love this kit and I think every crafter will!


The full value of this kit is $83.99
with the Stamps only is $24.00
with the Dies only is $59.99

Thru the Club La-La Land Subscription you pay: 

Product Kit - Stamps and Dies - $39.99
Stamp Kit - Stamps Only - $19.99
Dies Kit - Dies Only - $29.99

The last day to subscribe for this kit is May 31, 2021. 

Now for my cards


I stamped Marci and the Mouse on Copic Xpress It Cardstock and cut with my Scan N Cut.

COLORING DETAILS - Copic Markers:

Skin E000, E00, E04, E11, E93, R20
Hair: E70, E71, E74, E77
Hair Tie, Shirt and Pants: RV04, RV06, RV14, RV55, RV66 White Gel Pen
Apron: E41, E43
Mouse: C1, C3, C5, C7, C9, R20, White Gel Pen, Brush- Y15, Y17, R35, R37, E41
Paint Brushes: RV14, RV52, R14, BG13, BG15, BG49, G82, G84, YG63, E41, E43
Pencils: B91, B93, B95, B97, G82, G84, YG63
Plants and Flower Pots: G82, G84, YG63, RV04, RV06,
 RV14, RV55, RV66, BG13, BG15, BG49

I created a scene for Marci and her Mouse friend.   

I used the Endless Summer and Home For Christmas Paper Packs to create my scene with Marci's friend handing her a paintbrush and Marci's painting up a storm.


To get a full exclusive tutorial subscribe to this month's kit and get the exlusive tutorial.


Now for my next card


I stamped Marci and the Mouse on Copic Xpress It Cardstock and cut with my Scan N Cut.

COLORING DETAILS - Copic Markers:

Skin E000, E00, E04, E11, E93, R20
Hair: C1, C3, C5, C7, C9, True Black
Lips, R35, R59
Pants: B91, B93, B95, B97, B99
Shoes and Hair Tie: R35, R37, R59, White Gel Pen
Apron: B91, B93, White Gel Pen
Shirt: R20, R35, R37, R59, G14, White Gel Pen
Mouse: C1, C3, C5, C7, R20 White Gel Pen
Paper: E41, E43
Blending Brushes: R35, R37, R59, BG13, BG15, BG49
Glue: BG13, BG15, BG49, C1 


I colored Roses on Marci's Shirt and love how it turned out.

I used the Double Stitched Rectangles Dies and the Scalloped Rectangles Dies to create my layers 

I used the Hello Life Paper Pack for my Pattern Papers and love how the Copic Markers, Blending Brushes, and the Glue Bottle Dies add to the card.  

I added a few blue gems to the card.

I stamped my sentiment on the flag from the Stitched Elements Die and inked with a bit of red ink.   

I used a bit of foam tape to adhere my sentiment to the card.


Make sure to join our LLLC FAN GROUP on Facebook for more ideas, 
inspiration and a general chit chat about our products!

You can also find great inspiration over at the Club La-La Land Crafts Facebook page.


Hoping you all have a great week of Creating!


Friday, May 14, 2021

Marci in Tunic Dress with La-La Land Crafts

 Happy Friday!   Today I am back with another fun card from La-La Land Crafts.   This week our theme is Anything Goes and I was so excited to play with this image that was released last Fall.


I stamped Marci on Copic Xpress It cardstock and cut with my Scan N Cut.   

I colored with Copic Markers:
Skin: E00, E04, E11, E93, R20,
Hair: C1, C3, C5, C7, C9, True Black, BV23
Dress and shoes: R35, R37, R59, C5, Gold Gel Pen, White Gel Pen
Socks: C0, C1


I cut out multiple parasols and stacked them with foam tape to create a layered look.   

I used the Asian Fusion Paper Pack, along with some black and gold cardstock to make my card base.  I used the Largest of the Double Stitched Circles Dies to layer behind Marci with Red Cardstock.


I used black glitter cardstock from my scrap bin to cut the Asian Landscape Border Die. Next I used the A Pocket Full Clear Stamp set for my sentiment and stamped on one of the Rectangles from the Curved Pocket Die.


I added some gold glittery enamel dots to the card to add the finishing touches.


I love how this turned out and hope you enjoyed.

Make sure to join our LLLC FAN GROUP on Facebook for more ideas, 

inspiration and a general chit chat about our products!

Hoping you all have a great week of Creating

Angela


Thursday, May 13, 2021

My Boy Toby with Cut Cardstock


Hey everyone!  I am back with another fun scrapbook page! This month at Cut Cardstock we are featuring Basis Cardstock This month, one of our themes is masculine. When I think of Masculine- I see reds, blues, and browns. As I was going through my pattern paper and photos to coordinate, I came across this adorable photo of my 12 year old Pomchi Toby. 

My husband and I adopted Toby when he was 3 months old, just a few months after we got married and he as been Mr. Faithful over the years (and is so patient with our 3 year old – very playful and sassy Rat Terrier. I then found this pattern paper from Authentique and figured the colors would be perfect to bring across our masculine theme.

To start I cut a piece of Brown Basis Cardstock at 8″ x 8″. Next I cut a piece of Dark Red Basis Cardstock at 7 3/4″ x 7 3/4″. These 2 pieces make our base. I scrapbook in all sizes, but lately am drawn to the 8″ x 8″ layouts for some reason.

Next I inked the edges of my cardstock with Brown Ink.

Next I adhered the 2 layers together. I typically use a tape runner like Tombow Mono Adhesive, but you could also use wet glue, or double sided tape.

Next I cut additional pieces of pattern and cardstock- additional cardstock used- Aqua Basis Cardstock,- 8″ x 4″and Teal Basis Cardstock– 8″ x 3″ and my pattern strips are 8″ x 5″ and 8″ x 2 1/2″.

Next I inked my strips. You don’t gave to do the ink the edges, but I love the look of the distressing on the layers.

Once everything was inked I layered all of my strips to create my layout base. I love the mix of the stripes and the pawprints. I love to combine patterns- but I will usually break up between with solid cardstock.

Next I cut some various dies- Circles from Stamp Anniething. Tags and clipboard die from La-La Land Crafts. In the end I did not use the circle tag, but just stashed away for another day. I inked the edges of my dies with the same ink.

Next I cut my photo at 4″ x 4 3/4″ and the mat at 4 1/4″ x 5″, as well as a quote card at 3″ x 3″ and the mat at 3 1/4″ x 3 1/4″, and then inked those mats and the quote card.

And can I add- how cute is this boy??

Next I added my tag to the layout tucking under my panels, and then added the clipboard tucked in as well.

I played a bit with my photo and quote card a bit as I wasn’t sure how I wanted to arrange- or if I wanted straight or wonky- but settled on straight.

Next I added some letter stickers that I found in my stash- making my title to the page. I also added a bit of red polkadot ribbon to the tag- along with the die that goes top of the tag. You could use white or brown floss to tie the ribbon at the top of the tag, but today for this page I brought out my Tim Holtz attacher and added a few little staples.

I decided to add the other tag to the right, hanging off slightly. If you were going to put in an 8″ x 8″ protector, you would not want hanging off, but for this page I am actually going to add to a larger shadow box so the overhang wasn’t an issue.

I hope that you enjoyed this scrapbook layout as much as I had fun creating it. I may be a bit partial to the dog in the photo but he’s pretty adorable! Thanks for taking the time to read my post.

Until next time my friends,

Angela

Friday, May 7, 2021

Free Spirit Marci from La-La Land Crafts

 Happy Friday!   The design team is still having some fun with the April 2021 New Release from La-La Land Crafts.  This week I wanted to play with Free Spirit Marci.


I stamped Marci on Copic Xpress It Cardstock and colored with Copic Markers:

Skin: E000, E00, E11, E93, R20, BV20
Hair: BV20, BV23, BV25, BV29, Black
Dress and shoes: R11, R22, R32, RV14, RV42, YR02, YR15, Y17, Y38
White Gel Pen


I used a sketch from Cristena Bagne's book Inspired by the Sketch and did my take on the sketch below.


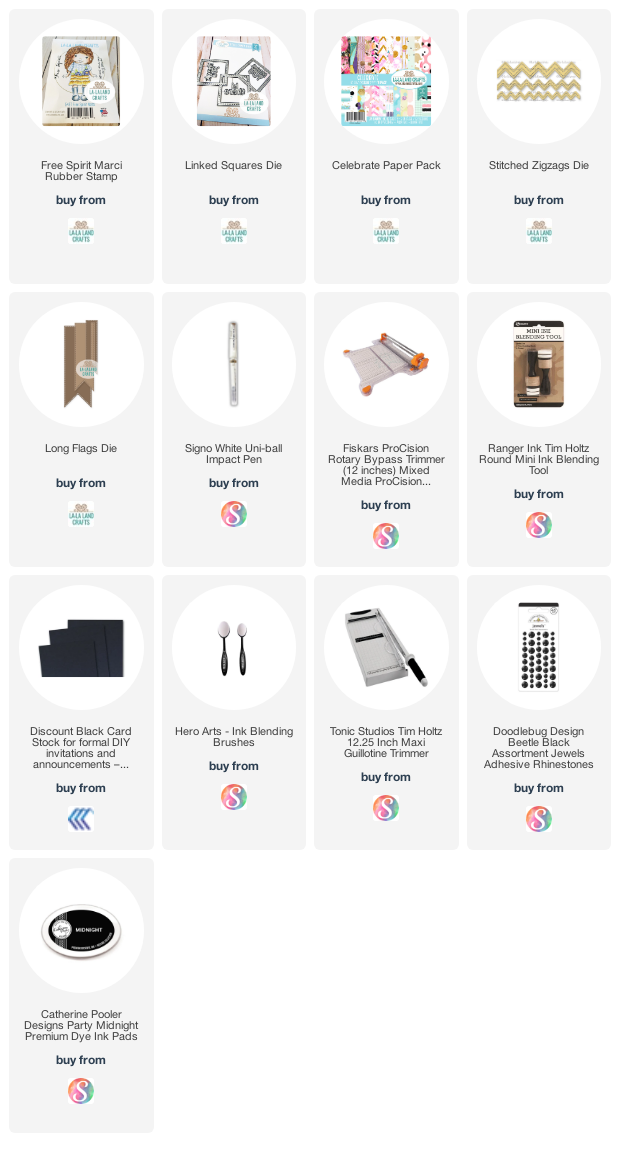
I used one of the Zigzag Dies with coordinating cardstock  to be my middle piece and tie my colors together.  


I used the Linked Squares Die behind Marci and the Long Flags Die for my Sentiment.

I added some Doodlebug Beetle Black Assorted Jewels to the card, and inked the edges of pattern paper and my sentiment with Midnight Ink from Catherine Pooler.


I love how this turned out and hope you enjoyed.

Make sure to join our LLLC FAN GROUP on Facebook for more ideas, 

inspiration and a general chit chat about our products!

Hoping you all have a great week of Creating

Angela