Thursday, August 26, 2021

Furever Friends from Sassy and Crafty

 Hey everyone!   This weekend our sponsor over at Passionate Paper Creations is Sassy and Crafty.    I decided to play this week with Furever Friends because really, who can resist a dog set?     


I stamped my image on Copic Xpress It cardstock and colored with Copic Markers:

Dog:  E31, E33, E35
Glasses and Bandana: R27, R29, R35, R46, R59
Eyes: BG13, BG49


I masked the image and used a stencil from my stash with Rockin Red ink from Catherine Pooler to carry on the red through the card.


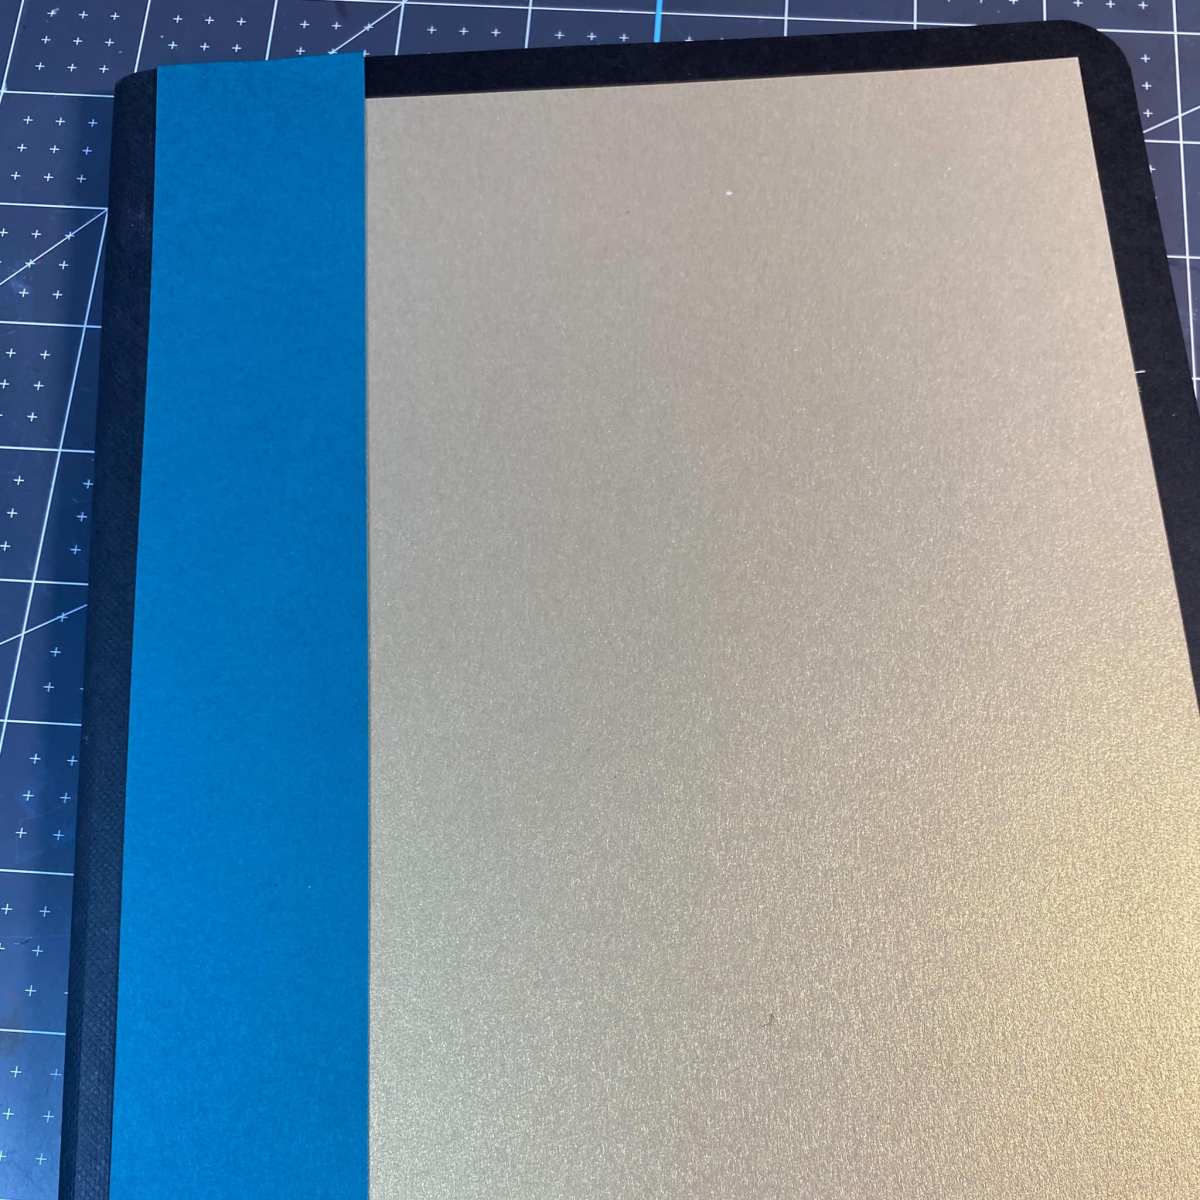
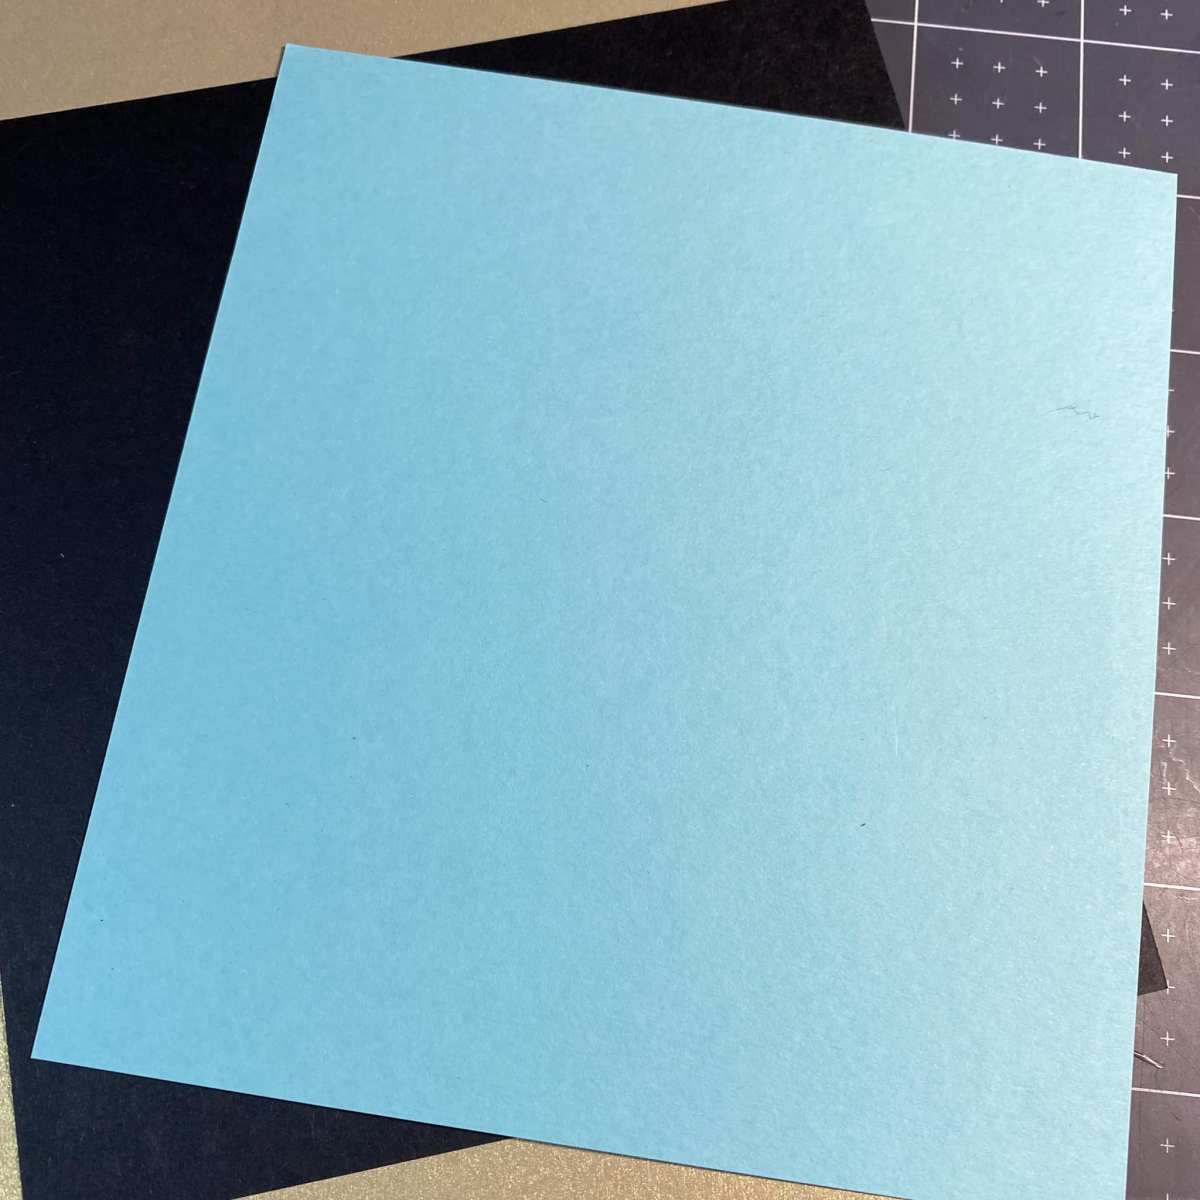
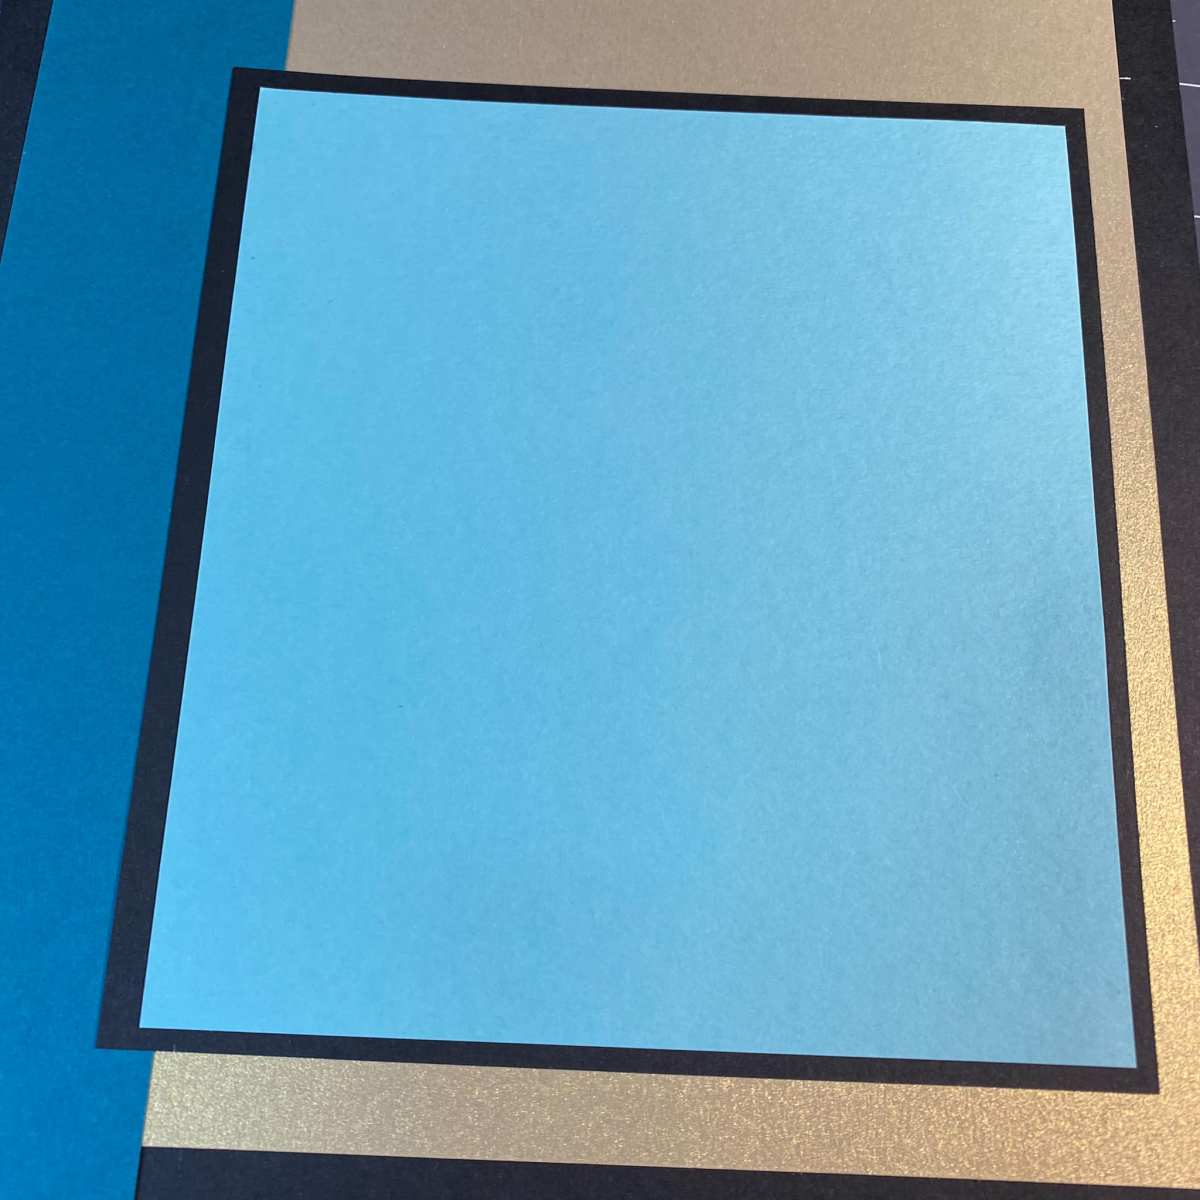
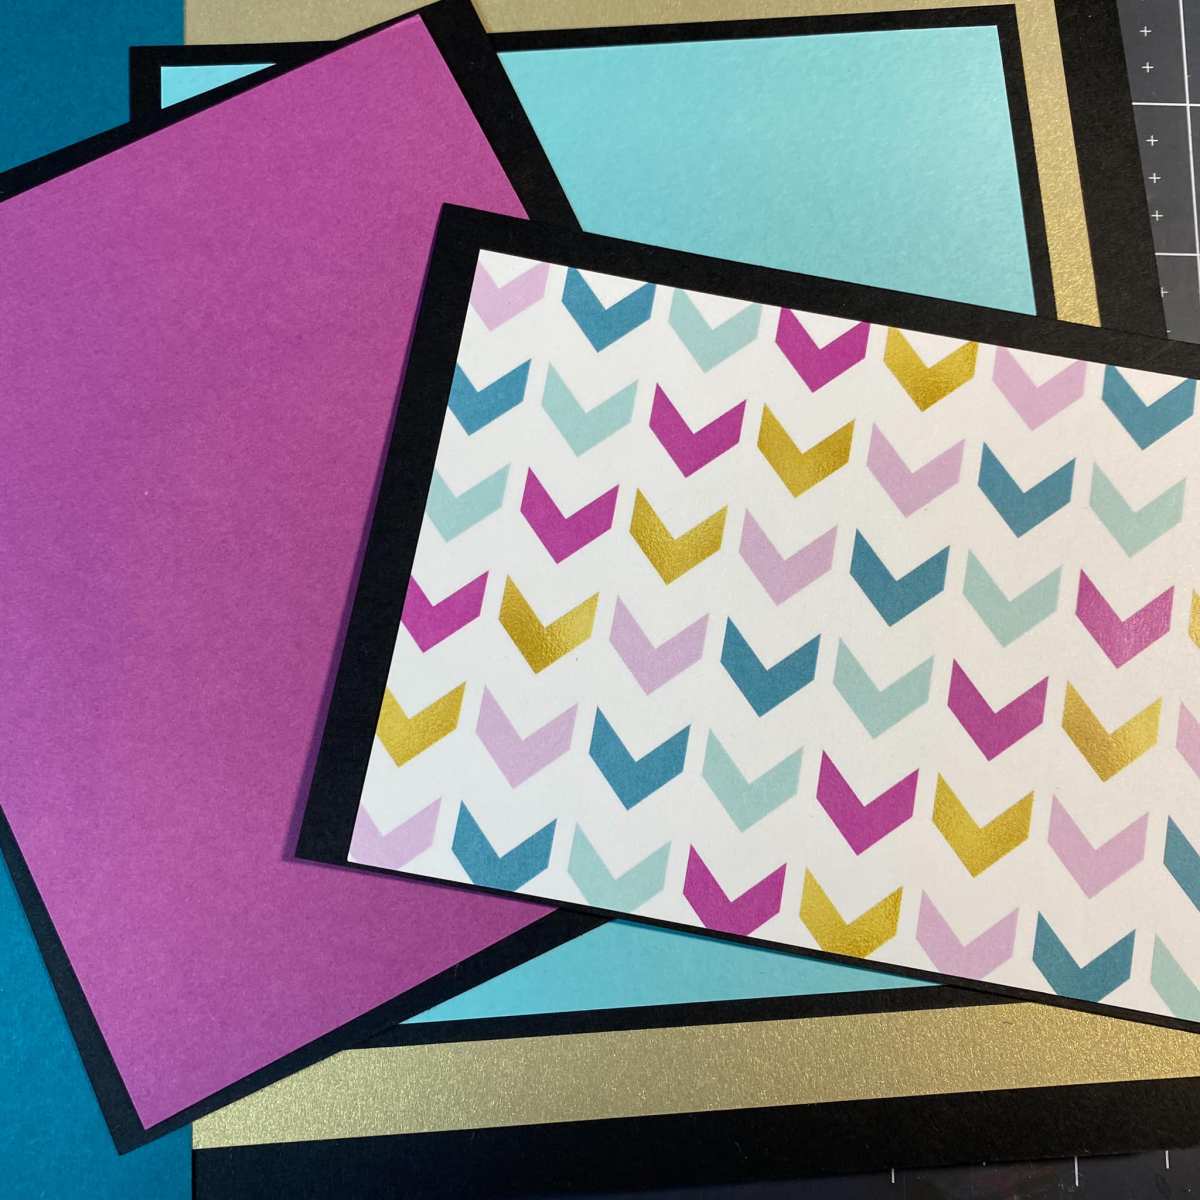
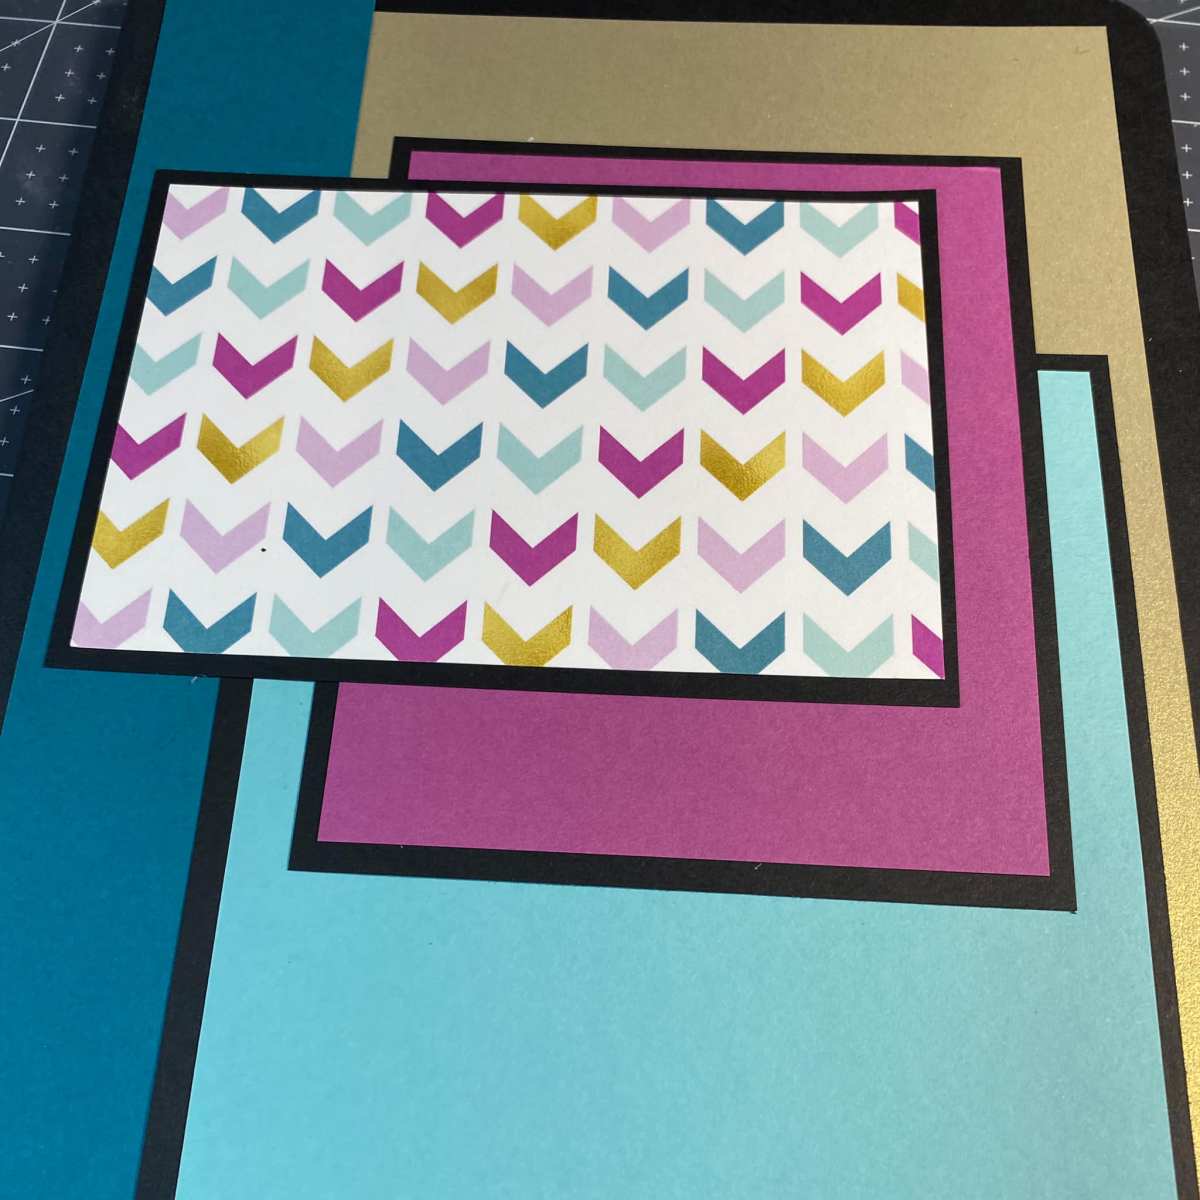
Next I used some Wild Cherry Cardstock from Cut Cardstock to matt my card.   I used pattern paper from Catherine Pooler Great Start for my pattern paper.   


Inked all of the edges of my cardstock and pattern paper with the same Rockin Red Ink. 


I added some white enamel dots to the card to add the finishing touches.


I hope you enjoyed my card.    Be sure to visit both the Passionate Paper Creations Facebook group- not a member ask to Join! and Sassy and Crafty Facebook group  to join in the fun!  AND we have something special for you!   Visit Sassy and Crafty and use code PPCF20 to get 20% off of your order.  


Until next time,


See you soon!

Angela


Thursday, August 19, 2021

Hippo Birdie with La-La Land Crafts


Hello everyone! Welcome to Tutorial Thursday!

Today's tutorial is:  Creating a Fun Slimline Card


Slimline cards seem to be all the rage lately, but what if you don't have any slimline dies?  You can use other dies, and double them up to create the length of a slimline card.

PRODUCTS USED
Hippo: T1, T3, T5, W1, W3, W5
Present: V04, V06, RV66, BG13, BG18
White Gel Pen

PAPER CUTS & SCORING
(1) white cardstock cut at 6 x 8, Score at 3" making a 3" x 8" cardbase
(2) pieces of pattern paper from the Summer Vibes Pack
(1) piece of teal cardstock cut at 3" x 8"
Small pieces of various papers - Magenta, Aqua and White to die cut the Small Photo Frames 
Small piece of Gold Foil Cardstock to die cut the Balloon Numbers Dies
~ now for the tutorial you have been waiting for ~ 


CREATING A FUN SLIMLINE CARD

I began by die cutting 2 of the largest of the Scalloped Rectangles Dies with the Summer Vibes Paper Pack.  


I decided to have my chevrons going down with my patterns.


I overlapped my Scalloped Rectangles to create a longer rectangle card.


Next I cut a piece of Teal Cardstock at 3" x 8" and adhered to my pattern base.  As you can see you have to look really closely to see the overlap.


I cut 3 of the Small Photo Dies with coordinating cardstock.  I then cut 3 more in white for the centers.   I have a little bin I keep extra dies in so I can pull the white photo frames later but it's an easy way to get the center.


I then stamped my sentiment as well as my hippo on the white.   I colored the hippo with the Copic colors listed above.


I then used some Gold Foil Cardstock to cut the 6 and 5 from the Balloon Numbers Die and adhered to the other photo die.   I added a few strings with my black pen.


Lastly I adhered this to my cardbase (not photographed) and my card is ready to give to my mom for her 65th birthday!


We hope that you are inspired to try out your own creation with the amazing stamps and dies from La-La Land Crafts! 

Make sure to join our LLLC FAN GROUP on Facebook for more ideas, 
inspiration and a general chit chat about our products!

Hoping you all have a great week of Creating

ANGELA

Click on the buttons below to find us on these social media sites:


Wednesday, August 4, 2021

2021 Journal with Cut Cardstock


Hey everyone! I am back with a fun journal cover featuring CutCardstock and La-La Land Crafts. Over the last few months, I became interested in letting and also improving my handwriting. I wanted a journal I can practice in but that would also be pretty. This month Gold and Silver Cardstock are our featured products.

This image has an empty alt attribute; its file name is 226979466_10219654752308464_4252275038210015308_n-1200x1200.jpg

I started with my selections of cardstock, some pattern paper and a composition notebook. I used the following:

Curious Metallic Cardstock in Gold Leaf, Basis Cardstock in Aqua, Teal, Black and Magenta.

This image has an empty alt attribute; its file name is 223540535_10219649885586799_3438210043872353474_n-1200x1200.jpg

I cut a piece of the Black Basis cardstock at 9 3/4" x 6 1/2", and the Gold at 5 1/2 " x 9". I then cut a strip of the Teal cardstock at 9 3/4" x 1/2". This will be the base of the cover

This image has an empty alt attribute; its file name is 225807986_10219649888506872_1603018012443296434_n-1200x1200.jpg

This next step is personal preference, but since my composition notebook has rounded covers, I got out my corner rounder and rounded the corners with the 1/2" side.

This image has an empty alt attribute; its file name is 223957317_10219649884506772_7495052477316264266_n-1200x1200.jpg

Next I adhered the gold cardstock to the black, and then used scoretape to adhere them to the notebook. I used this adhesive because the cover of the notebook is poly and wanted it to stay adhered.

This image has an empty alt attribute; its file name is 225283390_10219649877386594_7670017286607575401_n-1-1200x1200.jpg

Next I added my strip. This covers the seam and adds more color to coordinate with the pattern paper I am using.

This image has an empty alt attribute; its file name is 215664409_10219649887906857_825436961686294118_n-1200x1200.jpg

Next I cut a piece of black cardstock at 5 1/4" x 5 3/4" and Aqua at 5" x 5 1/2".

This image has an empty alt attribute; its file name is 225602690_10219649870746428_7278731662849659410_n-1200x1200.jpg

Once I adhered them together I added to my layout on the cover. I love how the Aqua pops against the black.

This image has an empty alt attribute; its file name is 224419119_10219649887346843_5574163929520493449_n-1200x1200.jpg

Now I want to add in the magenta and the pattern. I cut a piece of black cardstock at 4 1/4" x 5 1/4". My magenta was 4" x 5". Next I added my patternn paper. I love the colorful nature of this pattern paper from La-La Land Crafts- Summer Vibes. I cut it at 5 1/2" x 3 1/2" and the black to mat with 5 3/4" x 3 3/4".

This image has an empty alt attribute; its file name is 223498402_10219649882786729_6211231526941767768_n-1200x1200.jpg

I would normally ink all of my edges but I really liked how the clean crisp edges looked so I opted for those this time. I added the rest of my layers to the layout.

This image has an empty alt attribute; its file name is 214982125_10219649881066686_8342291542296166906_n-1200x1200.jpg

Next I die cut a couple of Chevrons from a Die from La-La Land Crafts and added towards the bottom of the layout. These match the paper so beautifully.

This image has an empty alt attribute; its file name is 225636716_10219649886946833_5794340693404802797_n-1200x1200.jpg

Lastly, I cut 2 of the Twenty21 die (also from La-La Land Crafts) and adhered them together.

This image has an empty alt attribute; its file name is 226397505_10219649869306392_6899645214002315439_n-1200x1200.jpg

To finish the layout I moved the 2021 up a bit and adhered to the layout. A few enamel dots added and we have a fun cover.

This image has an empty alt attribute; its file name is 226979466_10219654752308464_4252275038210015308_n-1-1200x1200.jpg

I hope that you enjoyed this project and would love to hear what you would journal about. Until next time! Angela